
Last updated September 24, 2026
Attic Insulation Maintenance Checklist for Leander Homeowners
A settled blown-fiberglass attic loses roughly 1 inch of depth per decade from compression alone. In a Leander attic that started at R-38, about 12 inches, that’s a measurable R-6 loss before a single pest or leak enters the picture. Most checklists tell you to “look for damage” without explaining what damage looks like or how to measure it. Our Complete Guide to Insulation in Leander covers the fundamentals; this article gives homeowners specific pass/fail thresholds tied to the conditions that actually degrade insulation here: HVAC duct sweating, pest intrusion pathways, and thermal bridging at truss chords. You’ll learn where to place a depth ruler in a hip-roof attic, how to read condensation staining, and how to keep a dated log that becomes evidence during a home sale or insurance claim.
Quick Answer
Leander homeowners should inspect attic insulation annually, measuring depth at four representative points in hip-roof attics, checking for duct condensation staining, sealing visible pest entry paths, and documenting findings in a dated log. Insulation below R-30, wet or compressed material, or gaps exposing truss chords to conditioned air below all warrant professional assessment. Attic insulation in Leander typically needs attention every 10-15 years, sooner if ducts sweat or rodents have accessed the space.
Table of Contents
- The Depth-Ruler Protocol for Leander Hip-Roof Attics
- How to Spot Duct Condensation Staining in Leander Attics
- The Three Pest Entry Points in Central Texas Wood-Frame Homes
- Thermal Bridging at Truss Chords: When the Gap Matters
- The Annual Log Format for Documentation
- Seasonal Maintenance Tasks by Month
- Material-Specific Care: Fiberglass, Cellulose, and Spray Foam
- Common Mistakes to Avoid
- When to Call a Professional
- Frequently Asked Questions
- The Bottom Line
 Before
 After
AfterThe Depth-Ruler Protocol for Leander Hip-Roof Attics
Most Leander homes built after 1990 use hip-roof construction with a central ridge lower than gable-end designs. This geometry matters because insulation depth varies dramatically across the attic floor. Measure at the ridge and you’ll get your highest reading. Measure near the eaves and you’ll find the lowest. Neither tells you what the attic actually performs at.
We’ve measured thousands of attics in Leander, from Crystal Falls to Mason Hills to the older ranch-style homes near Bagdad Road. The pattern repeats: homeowners who measure once, measure high, and overestimate their R-value by 20-30%.
Where to Place Your Ruler
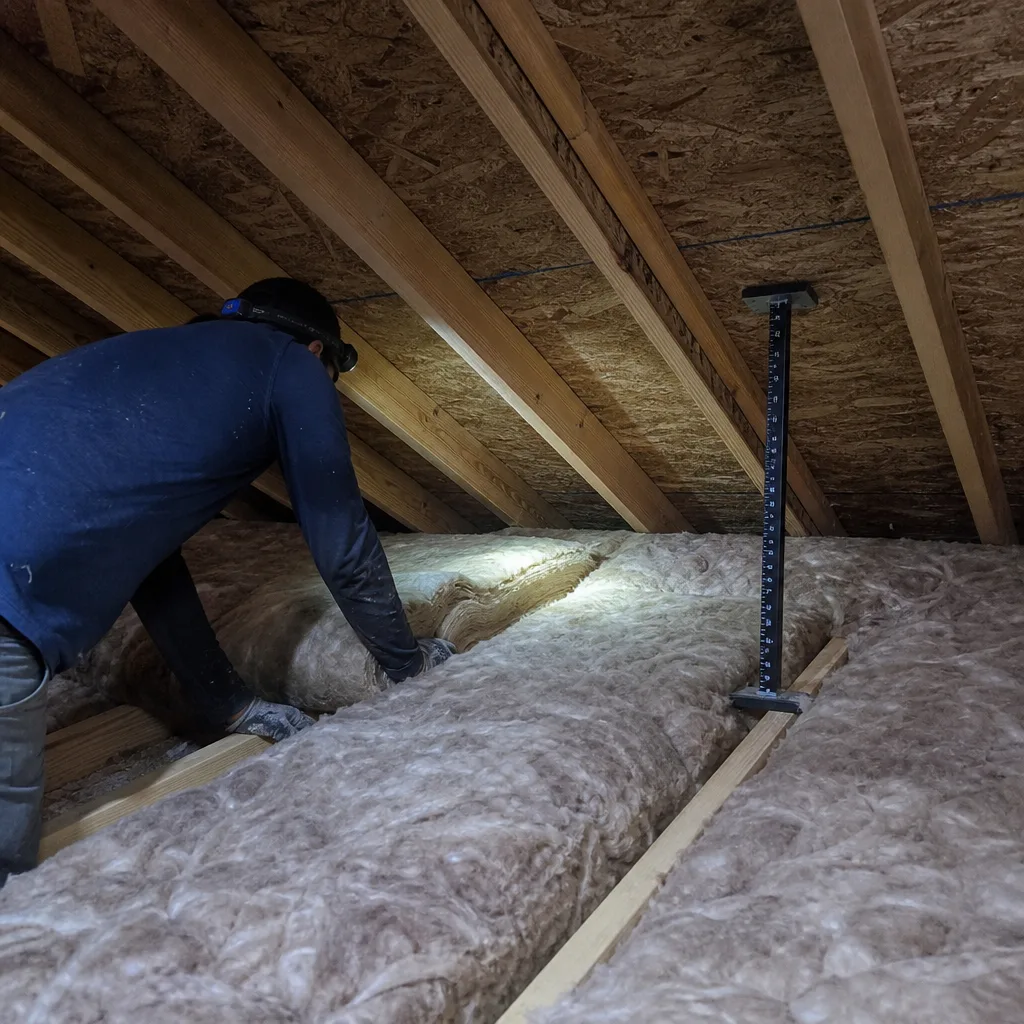
- Point A: Measure 3 feet down from the ridge, centered on the attic’s long axis. This captures the deepest settled material but avoids the peak where installers pile extra product.
- Point B: Measure at the midpoint between ridge and eave, directly above a central hallway or living space below. This represents your true conditioned-area coverage.
- Point C: Measure within 2 feet of the eave, where baffles meet the attic floor. This is your minimum depth and the first place compression, wind-washing, or pest activity shows.
- Point D: Measure above any duct trunk line or HVAC air handler. Equipment platforms compress insulation over time; this reading tells you if mechanical weight has created a thermal weak spot.
Record all four readings. Average them. In Leander’s climate zone 2, the 2021 IECC calls for R-38 in new attics, but many existing homes perform adequately at R-30 if air sealing is thorough. If your average falls below 10 inches of blown fiberglass or 8 inches of cellulose, you’re below R-30 and losing conditioned air faster than your equipment can replace it.
We publish before-and-after blower-door numbers on every applicable job - a pressurization measurement that shows, in a single figure, how much conditioned air the home was losing before and after the work. If your depth readings are marginal, that number matters more than the depth itself. A well-sealed attic at R-30 often outperforms a leaky attic at R-38.
How to Spot Duct Condensation Staining in Leander Attics
Leander’s climate creates a specific problem: attic temperatures spike past 140°F in July and August while ducts run 55°F refrigerant from central AC systems. That 80-degree differential drives moisture onto duct surfaces, which then drips into insulation below. The result isn’t always visible water damage. Often it’s a gray-green discoloration in fiberglass, a darkening in cellulose, or a faint musty smell that lingers after the AC cycles off.
We’ve found this pattern consistently in Leander neighborhoods with homes built 2005-2015, particularly where flex duct was run across the attic floor rather than hung from trusses. The sagging loops create low points where condensation pools.
What to Look For
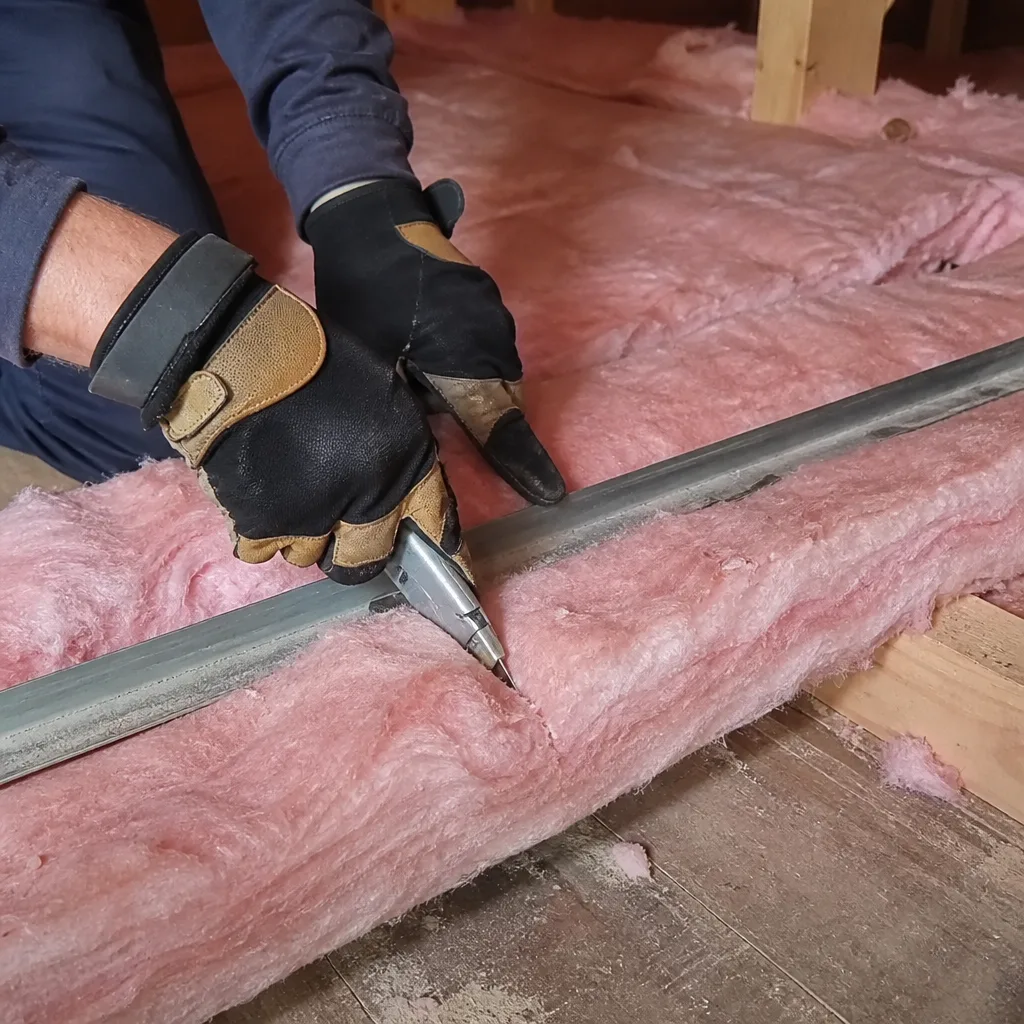
- Color shift in fiberglass: Clean blown fiberglass is pink, yellow, or white depending on manufacturer - Owens Corning’s Pink Panther product is unmistakable. Stained sections turn gray-green or brown. The discoloration often follows the duct line for several feet.
- Cellulose clumping: GreenFiber and similar cellulose products darken and mat when wet. Healthy cellulose is fluffy and separates easily. Clumped material that holds its shape when squeezed has seen moisture.
- Duct tape failure: The adhesive on standard duct tape degrades in attic heat. If tape is hanging loose near insulation stains, condensation has likely been occurring long enough to compromise the vapor barrier.
- Corroded nail heads on truss plates: A secondary indicator. Where ducts sweat consistently, the galvanized nails in nearby truss connector plates show rust 3-5 years before insulation shows visible damage.
The mold risk beneath wet insulation is real and often hidden. Fiberglass itself doesn’t support mold growth, but the dust and organic debris it collects does. Cellulose is more vulnerable - it’s treated with borate for fire resistance, but sustained moisture overwhelms that protection.
If you find staining, don’t just add more insulation on top. The wet material needs removal, the duct leak or condensation source needs repair, and the deck needs drying before new material goes in. We document this with photos on every job - part of our Documented Photo Record included on every visit, not available on request.
The Three Pest Entry Points in Central Texas Wood-Frame Homes
Leander sits at the edge of the Texas Hill Country, where wood-frame construction meets active wildlife corridors. We’ve removed insulation contaminated by rodents in homes from Travisso to Deerbrooke to the established neighborhoods along Hero Way. The entry points are predictable once you know what to look for.
Entry Point 1: Roof-Wall Intersections
The gap where the roof sheathing meets the top plate of the exterior wall is rarely sealed properly in production framing. A 1/4-inch gap is enough for mice; a 3/4-inch gap admits roof rats, which are common in Leander’s oak-heavy neighborhoods. Look for:
- Insulation disturbed in a line parallel to the exterior wall, 2-3 feet into the attic
- Droppings concentrated near the eave, not scattered
- Gnaw marks on truss ends or electrical cable sheathing
This damage compromises air sealing before it compromises insulation depth. Rodents compress material as they tunnel, but the bigger problem is the air pathway they open between conditioned space and attic.
Entry Point 2: Plumbing and Electrical Penetrations
Every vent stack, chimney chase, and recessed light canister creates a penetration through the attic floor. In Leander’s rapid-growth construction era - roughly 2010-2020 - these were often sealed with expanding foam that degrades in attic heat or was never fully applied. Look for:
- Insulation pulled away from pipe sleeves, revealing the deck below
- Daylight visible around flues or chimneys (check on a sunny day with the attic lights off)
- Discoloration trails radiating from can lights - warm, moist house air carrying dust particles
Entry Point 3: Gable Vent Screens
Hip-roof homes have fewer gable vents, but those that exist - and all ridge vents - rely on mesh screens that squirrels and raccoons defeat. In Leander’s cedar elm and live oak canopies, tree branches provide highway access. Look for:
- Screen mesh pushed inward or torn
- Insulation disturbed near the vent, with debris from outside - leaves, twigs, acorn shells
- Staining on the roof sheathing near the vent, indicating repeated entry and exit
Pest damage that has compromised air sealing requires more than trapping and replacing insulation. The entry path must be sealed with rodent-proof materials - steel wool, concrete patch, or metal flashing - before new insulation goes in. We see this sequence ignored regularly: insulation replaced over unsealed entry points, with re-infestation within 18 months.
Thermal Bridging at Truss Chords: When the Gap Matters
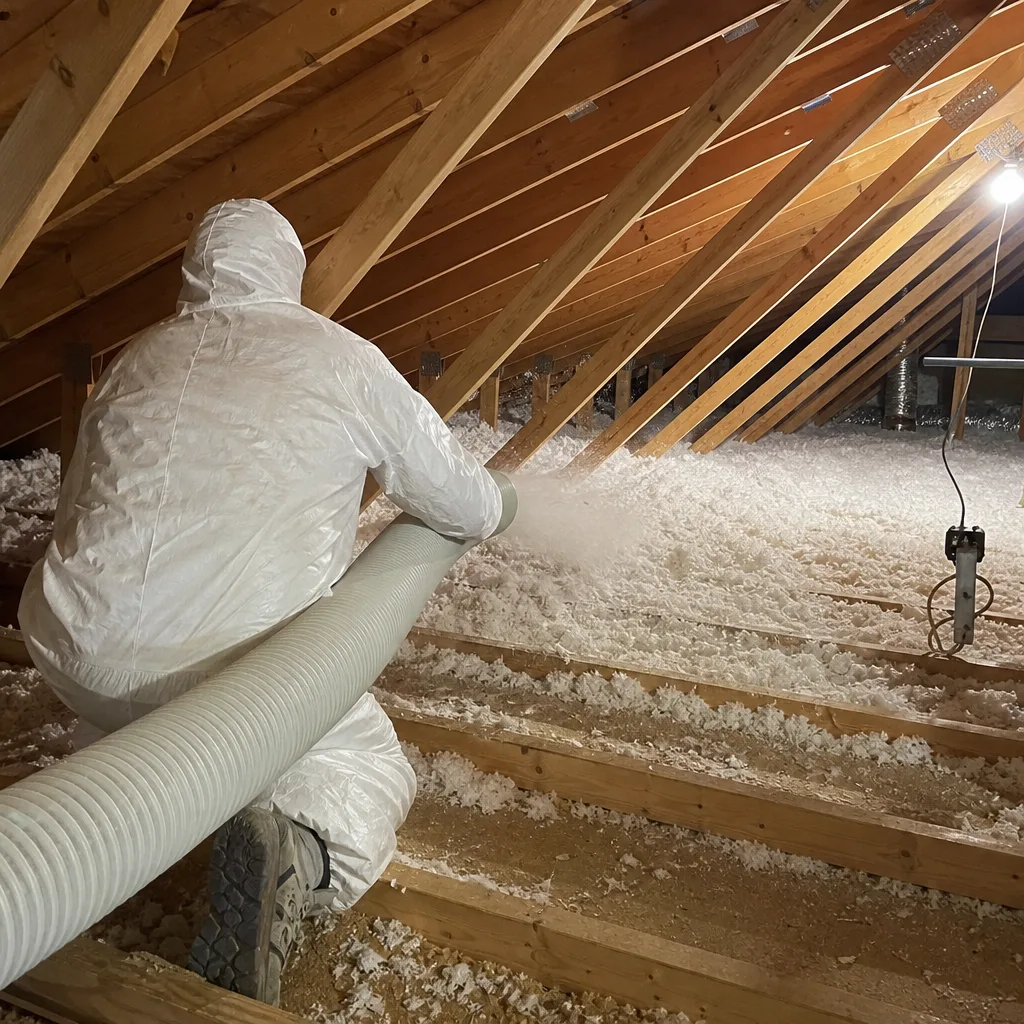
Wood conducts heat roughly four times faster than fiberglass insulation. In a Leander attic on a July afternoon, the 2×4 or 2×6 truss chords running through your insulation field read 10-15°F warmer on a thermal camera than the surrounding material. This is thermal bridging: a localized path where heat bypasses the insulation layer.
Some bridging is inevitable and acceptable. The question is whether the gap between truss chord and insulation has grown large enough to matter.
Pass/Fail Thresholds
| Condition | What to Look For | Action |
|---|---|---|
| Acceptable | Insulation contacts truss chords on all sides; no visible gap wider than 1/2 inch | None - monitor annually |
| Monitor | Gaps 1/2 to 1 inch at chord edges, especially near eaves where wind-washing may have displaced material | Add insulation to fill gaps; check again in 6 months |
| Address | Gaps exceeding 1 inch, or chords fully exposed for 6+ inches of length; visible ceiling drywall below | Professional air sealing and insulation addition; likely indicates settlement or pest disturbance |
| Urgent | Wet or stained wood at truss chords; mold growth on wood surface | Professional assessment for roof leak or duct condensation source; do not cover with new insulation |
In Leander’s cooling-dominated climate, thermal bridging matters most in summer. The hot chords radiate heat downward, creating warm spots on the ceiling that force your AC to run longer. A thermal camera makes this visible, but you can approximate with your hand on a 100°F day: hold it 6 inches below the ceiling in late afternoon. Persistent hot spots that align with truss spacing - typically 24 inches on center in modern framing - indicate bridging worth addressing.
Spray foam insulation in Leander addresses this directly by adhering to truss chords and eliminating gaps, but it’s not the only solution. Dense-pack cellulose or carefully fitted fiberglass batts at the attic floor, with attention to complete contact, can perform comparably if air sealing is thorough. We source materials from Owens Corning, Johns Manville, Knauf, Rockwool, CertainTeed, Icynene, Demilec, and GreenFiber - no proprietary product lock-in - and recommend based on the specific condition we find, not a one-size-fits-all approach.
The Annual Log Format for Documentation
A dated log transforms casual observation into evidence. We’ve seen this documentation support insurance claims after hail events, justify insulation upgrades during home sales, and protect homeowners in disputes with builders over warranty coverage. The format is simple but must be consistent.
Recommended Log Format
- Date and weather: Record the inspection date and the day’s high temperature. Attic conditions vary dramatically; a 95°F day reading means something different than a 75°F day reading.
- Depth measurements: List your four ruler points with exact readings. Example: “A: 11.5″, B: 9″, C: 7″, D: 8″ - average 8.9″.”
- Condition notes: Describe what you found at each point. “Point C: insulation compressed 2′ around air handler platform. Point D: gray staining following flex duct line for 4′.”
- Pest evidence: Note any droppings, gnaw marks, disturbed insulation, or entry paths found. Photograph if possible.
- Photos: Take dated photos of any concerning condition. Store with the log, not on a phone that gets replaced.
- Actions taken: “Added R-19 unfaced batts at Point C. Sealed 1/2″ gap at plumbing vent with caulk.” Or: “Called Topside Attic Insulation Leander for assessment - noted duct staining.”
Keep the log with your home’s permanent records. In Leander’s active real estate market, a 5-year inspection history with documented maintenance differentiates your listing. Buyers and their inspectors appreciate evidence over assurances.
Under Haven Standard: Have it in writing. We provide a written scope, written warranty, and documented photo record before any work starts. Your maintenance log extends that documentation forward.
Seasonal Maintenance Tasks by Month
Leander’s climate has distinct seasons, though milder than northern Texas. Aligning attic checks with seasonal transitions catches problems early.
March: Pre-Summer Inspection
Inspect before the first 90°F day. Check depth at all four points. Look for winter pest entry - rodents seeking warmth often find access points in fall that go unnoticed until summer heat drives them to cooler spaces. Verify ridge vent screens survived winter storms. This is your baseline reading for the cooling season.
June: Duct Condensation Check
After the first sustained week of AC operation, inspect for new staining. The temperature differential is at its maximum. Check specifically above the air handler and along the longest duct runs - these see the most condensation. If you find new staining, document before it dries and becomes harder to identify.
September: Post-Summer Assessment
Compare depth readings to March. Wind-driven rain from summer thunderstorms can enter through compromised vents and weigh down insulation. Check for mold growth that accelerated during humid months. This is also when wasp and hornet nests in attic vents become visible - they block ventilation and create fire hazards near light fixtures.
December: Winter Preparation
Leander’s brief cold snaps drive rodents indoors. Inspect entry points with a flashlight from the attic side - daylight visible around any penetration is an entry path. Check that bath fan ducts terminate properly; we find disconnected ducts in Leander attics several times per year, dumping moist bathroom air directly into insulation.
Material-Specific Care: Fiberglass, Cellulose, and Spray Foam
Different insulation types fail differently. Knowing what you have determines what to watch for.
Blown Fiberglass
The most common material in Leander attics installed 2000-2020. Owens Corning and Johns Manville dominate this market. Fiberglass doesn’t absorb water, so wetting shows as staining on the material surface and compression of the layer below. It settles predictably - about 1-2% per year under normal conditions, faster if walked on or disturbed by pests. The pink or yellow color fades in UV light near vents; faded material near gable vents isn’t defective, but verify it hasn’t blown away from the edge.
Blown Cellulose
GreenFiber and similar borate-treated cellulose products are common in eco-conscious builds and retrofits. Cellulose absorbs moisture readily; wet material is heavier, darker, and clumped. The fire-retardant treatment can degrade with repeated wetting, though this takes years. Cellulose resists pest damage better than fiberglass - the borate is mildly toxic to insects and rodents - but saturated material loses this protection. Check moisture content by squeezing: dry cellulose springs back, wet material holds a compressed shape.
Spray Foam
Open-cell and closed-cell foams, including Icynene and Demilec products, don’t settle or compress. Maintenance focuses on the air seal integrity. Look for:
- Cracks or separations at the foam-to-wood interface, especially at truss heels where expansion and contraction stress the bond
- Discoloration - yellowing is normal UV exposure; dark brown or black indicates moisture intrusion from a roof leak
- Areas where foam was trimmed too thin during installation, leaving less than the specified R-value
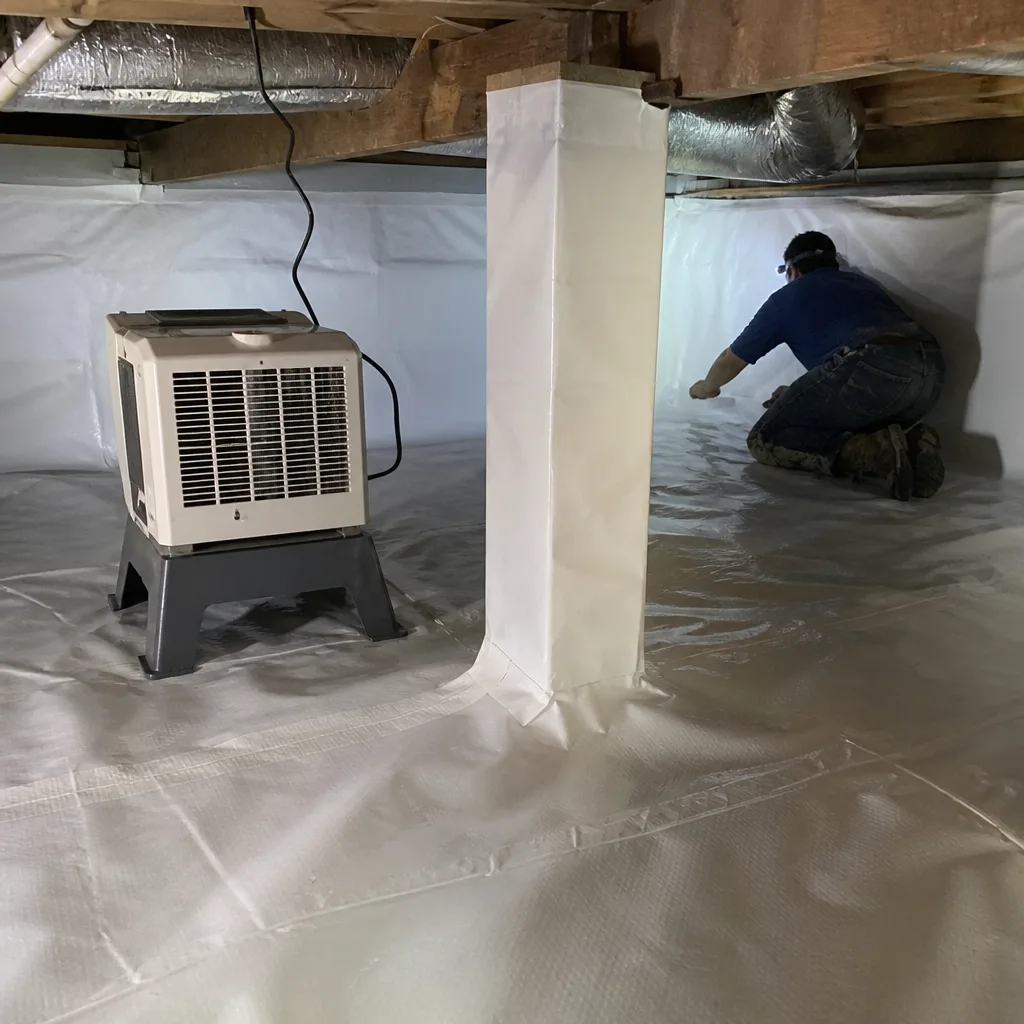
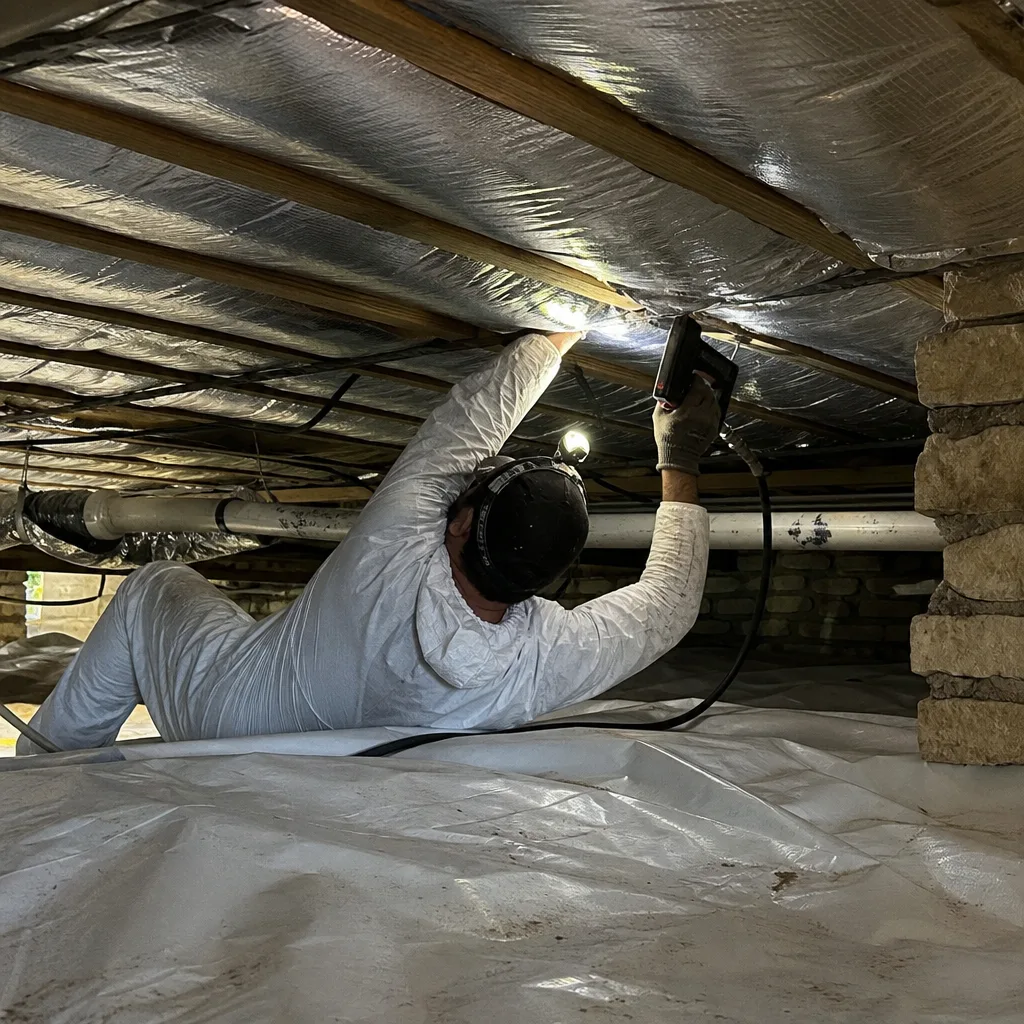
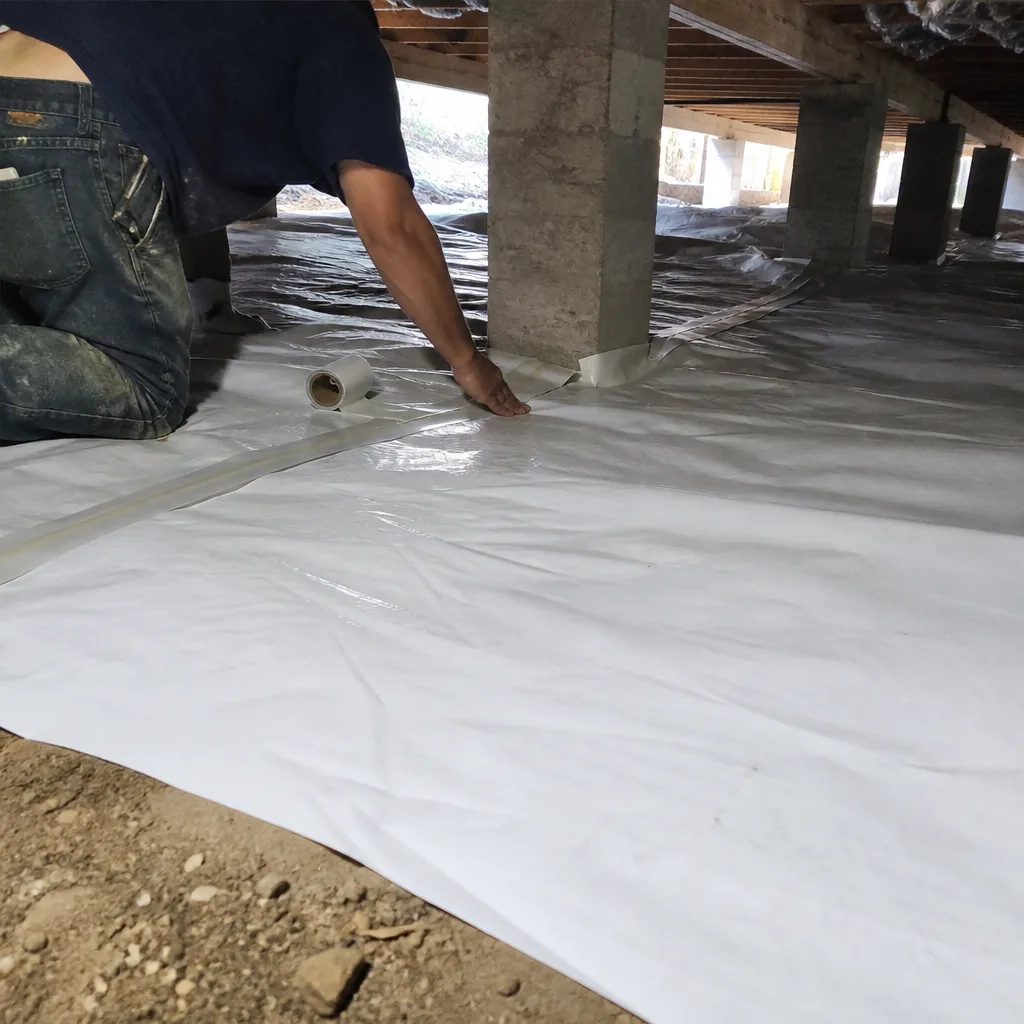
Crawl space encapsulation and vapor barrier in Leander often uses similar foam products; the inspection principles transfer.
Common Mistakes to Avoid
- Measuring only at the ridge. This gives your highest reading and masks settlement near eaves. In Leander’s hip-roof attics, the ridge is often the least representative point.
- Adding new insulation over wet material. This traps moisture, accelerates mold growth, and voids most manufacturer warranties. Wet insulation must be removed and the source dried before replacement.
- Sealing attic vents to “improve efficiency.” Attics need ventilation to shed moisture. Blocked vents in Leander’s humid summers create condensation problems that damage insulation and roof sheathing.
- Ignoring the HVAC platform. The air handler sits on a frame that compresses insulation beneath it. This creates a thermal bypass that’s invisible from below but costs measurable efficiency.
- Using the wrong depth chart for your material. Cellulose achieves R-38 at roughly 10 inches; fiberglass needs 12 inches. Check the bag label or manufacturer’s specification for your specific product.
- Skipping the annual check after a “professional” installation. Even quality installations settle and shift. Our 365-Day Done Right Promise covers installation defects, but annual homeowner inspection catches issues no warranty addresses - like new pest entry or storm damage.
When to Call a Professional
Some conditions exceed homeowner maintenance. Call for assessment if you find: insulation depth below R-30 with no clear explanation; wet or mold-stained material anywhere in the attic; pest damage that has created visible gaps to conditioned space; thermal bridging gaps exceeding 1 inch along multiple truss chords; or ductwork with corrosion, separated seams, or insulation falling off flex runs.
Topside Attic Insulation Leander offers free estimates in Leander - call (737) 252-7159. Every job begins with a written price before any work starts, and we provide a Free Second Opinion on any written estimate. Our background-checked, uniformed technicians arrive with documented photo records and, on applicable jobs, before-and-after blower-door readings so you can verify the air-sealing result in a single figure.
Frequently Asked Questions
Inspect annually, ideally in March before summer cooling loads peak. Leander’s combination of hot summers, occasional hard freezes, and active wildlife means conditions change faster than in milder climates. A 15-minute annual inspection catches settlement, pest entry, and moisture problems before they require major remediation.
The 2021 IECC calls for R-38 in new Leander construction, but existing homes often perform adequately at R-30 if air sealing is thorough. We’ve measured homes in Leander’s Crystal Falls neighborhood at R-25 that outperformed R-40 homes in Mason Hills because the lower-R home had comprehensive air sealing and the higher-R home had significant leaks. The blower-door number matters more than the insulation depth alone.
Adding over clean, dry, properly installed existing material is always cheaper - typically 40-60% less than full removal and replacement. But adding over wet, pest-contaminated, or compressed material wastes money and can create mold problems. The decision depends on what the annual inspection reveals. Call (737) 252-7159 for an exact quote - estimates are free, and we provide a Free Second Opinion on any written estimate you’ve already received.
Only on walkways or plywood laid across truss chords. Ceiling drywall won’t support your weight. In Leander’s older homes with 2×4 trusses on 24-inch centers, even experienced technicians use crawl boards. If your attic lacks walkways, inspect from the hatch with a flashlight and measuring stick, or call for a professional assessment with proper safety equipment.
Duct condensation is the most common cause. When 55°F refrigerant runs through ducts in a 140°F attic, moisture condenses on the exterior and drips into insulation below. The musty smell often arrives before visible staining. Check above your air handler and along flex duct runs in June, after the first sustained AC use. If you find staining, the duct needs sealing or insulation before the insulation below is replaced.
Look for insulation disturbance in lines or tunnels, not random compression. Rodents follow the same paths repeatedly, creating visible trails. Check specifically near roof-wall intersections and plumbing penetrations. If you see daylight through a gap that should be sealed, or feel air movement with your hand on a windy day, the air seal is compromised regardless of insulation depth. This requires professional air sealing before insulation replacement - we never blow insulation over an unsealed attic floor.
The Bottom Line
Attic insulation maintenance in Leander is measurable, not guessable. Use the four-point depth-ruler protocol in hip-roof attics. Check for duct condensation staining after the first hot week each summer. Seal the three common pest entry points before replacing contaminated insulation. Document everything in a dated log. Thermal bridging at truss chords is normal; gaps exceeding 1 inch are not. These specific thresholds, applied annually, protect the investment you’ve already made in your home’s envelope and create evidence that pays off at sale or claim time. For additional maintenance strategies, explore our more guides & resources.
We’ve sealed and insulated 9,000+ homes since 2016 - every one with a written price before work started and a documented record when the crew left. If your inspection reveals conditions beyond homeowner maintenance, we’re available. Calls are answered by a live person, 24/7 - no voicemail loops, no callback windows measured in business days.
Written by Wes Okafor, Owner at Topside Attic Insulation Leander, serving Leander since 2016.