
Last updated September 24, 2026
DIY vs Professional Insulation: The Leander Homeowner’s Decision Guide
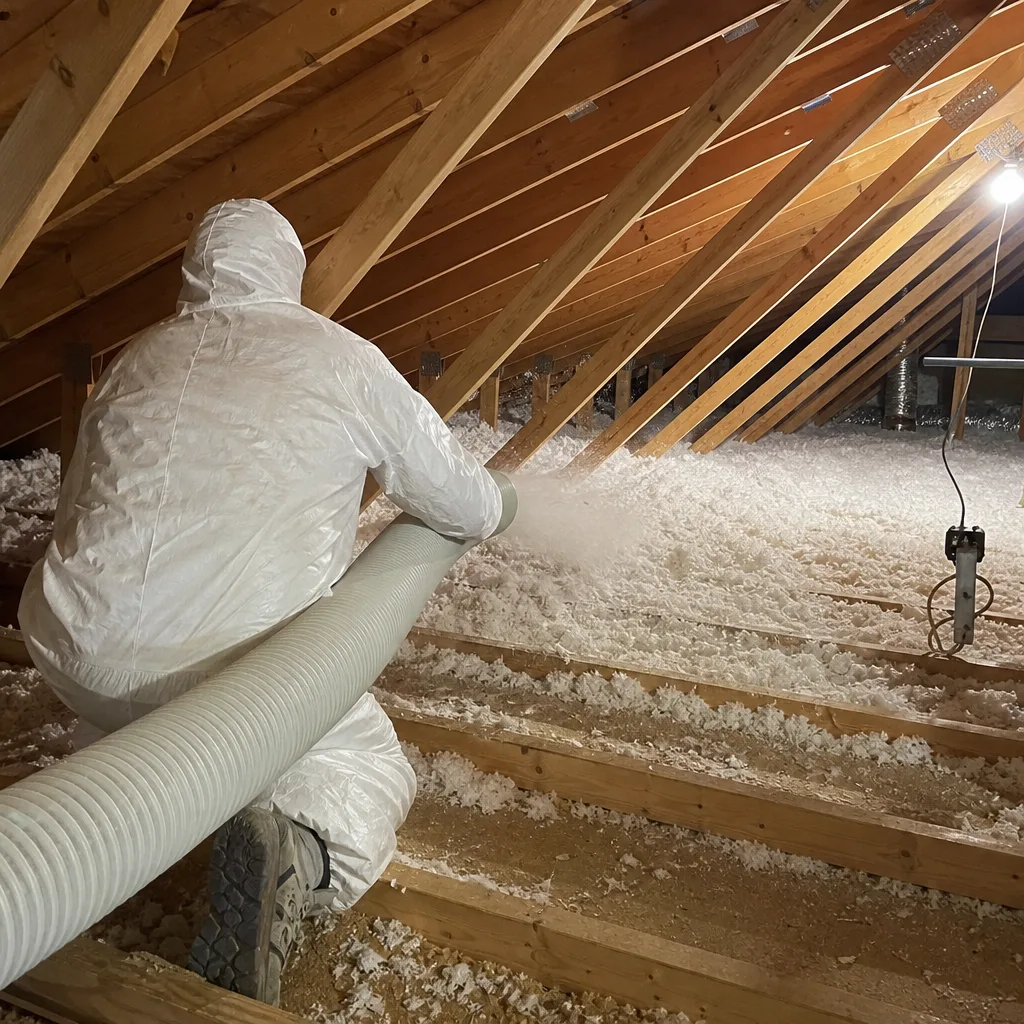
Renting a blow-in machine from a Leander big-box store runs about $200 per day, and the bags of blown fiberglass sit right there on the shelf. But here’s what the rental counter doesn’t tell you: that machine operates at roughly half the PSI of a professional truck-mount rig. The installed density comes up lighter, and over five years the material settles more than the manufacturer’s coverage chart assumes. We’ve pulled back enough attic hatches in Leander’s Paloma Lake, Crystal Falls, and Travisso neighborhoods to see the gap between what homeowners thought they installed and what’s actually left up there. This guide will show you which insulation tasks actually make sense to handle yourself, which ones quietly destroy performance, and how to decide based on your attic’s real condition rather than your weekend availability. For more guides & resources, visit our blog.
Quick Answer
DIY insulation in Leander works for three specific tasks: attic hatch weatherstripping, pre-fabricated can-light covers, and accessible rim-joist batts in conditioned crawl spaces or basements. Everything else, including blown attic insulation without prior air sealing, typically costs more in lost efficiency and rework than it saves in labor. The critical variable isn’t skill level; it’s whether your attic already has a verified air seal and a blower-door baseline to measure against.
Table of Contents
- The Three DIY Tasks That Actually Save Money
- The Blown Insulation Trap: Why DIY Attic Fills Fail
- Equipment Reality Check: Rental vs. Professional Blower Performance
- The Insurance Question DIY Guides Never Address
- Decision Matrix: Attic Condition, Access, and Baseline Data
- How Leander’s Climate and Code Shape the Choice
- What Professional Work Actually Delivers (Documentation)
- Real Cost Comparison: DIY vs. Professional in Leander
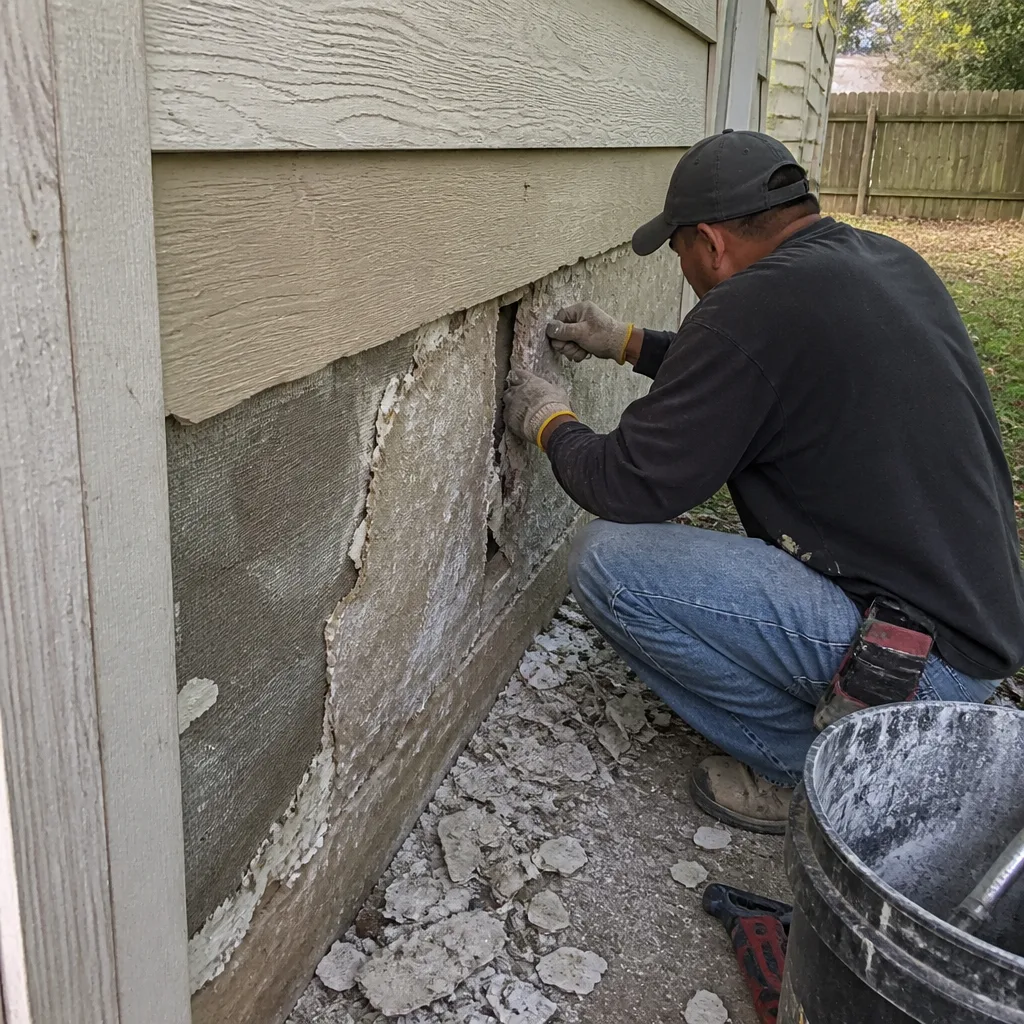 Before
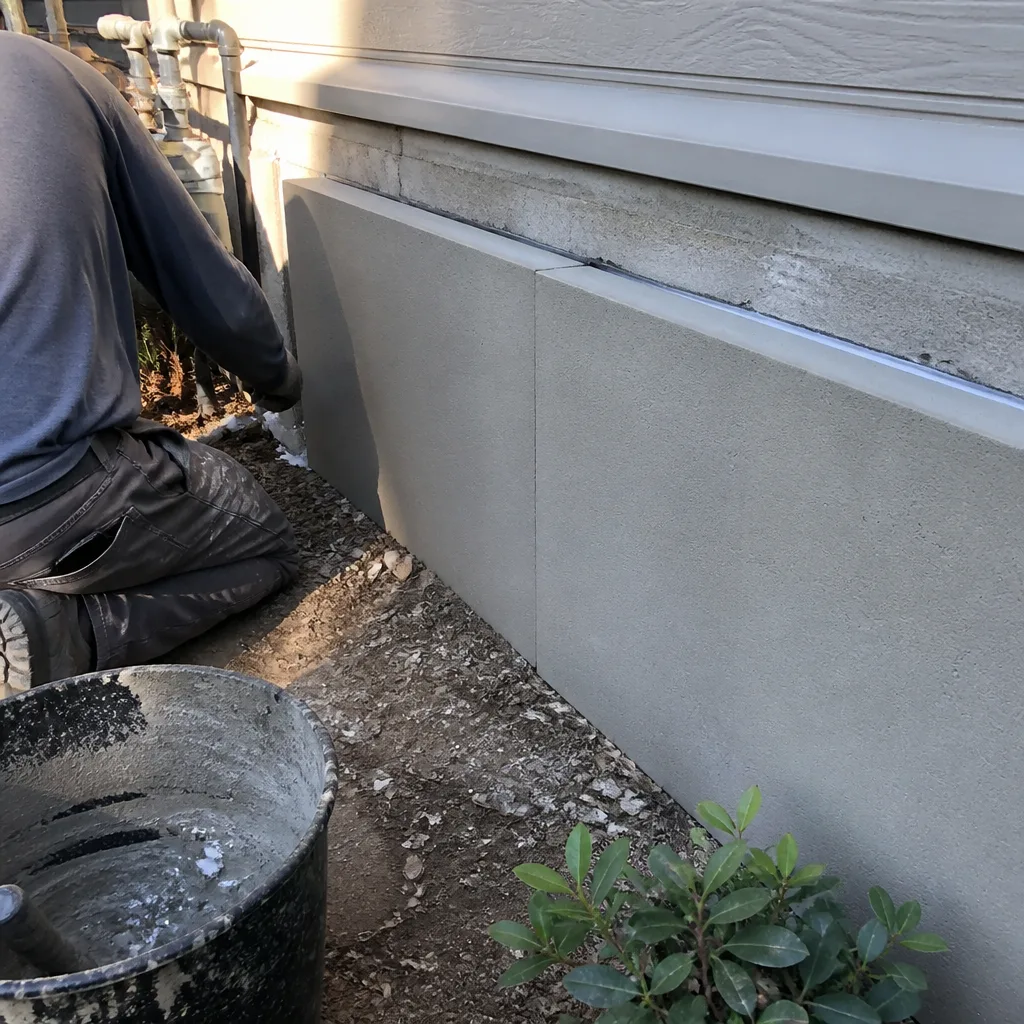 After
AfterThe Three DIY Tasks That Actually Save Money
Not every insulation job requires a crew. We’ve identified three tasks where a Leander homeowner with basic tools can achieve professional-grade results without touching the building envelope’s pressure boundary.
1. Attic Hatch Weatherstripping
The attic hatch is the most overlooked leak in the average home. It’s also the easiest fix. A ¼-inch gap around a standard 22-by-30-inch hatch leaks as much conditioned air as a 6-inch square hole in your wall. The fix takes 45 minutes: adhesive foam tape around the frame, a few latch-style fasteners to pull the hatch tight against the seal, and rigid foam board glued to the attic side for thermal resistance. Owens Corning makes a kit we’ve seen homeowners install correctly in Leander’s Bar W Ranch and Mason Hills subdivisions. Cost: $35-$60 in materials. No permit required. The only mistake we see is using too-thin tape that compresses to nothing within a year.
2. Pre-Fabricated Can-Light Covers
Recessed can lights punch holes in your ceiling’s air barrier. Ten of them in an insulated attic can leak as much air as leaving a window cracked year-round. Pre-fab covers, like the ones from Rockwool or Tenmat, drop over the fixture from above and create a sealed box that insulation can touch safely. The key word is pre-fabricated. We’ve found DIY caulk-and-foam attempts around hot fixtures that created fire hazards in Leander homes built during the 2019-2021 construction rush. The covers run $12-$25 each. Installation means climbing into the attic, placing the cover, and sealing its edges to the drywall with fire-rated caulk. This is a task where DIY saves $40-$60 per fixture in labor without compromising safety or performance.
3. Accessible Rim-Joist Batts in Conditioned Basements or Crawl Spaces
The rim joist, where your foundation meets your first floor, is a thermal bridge in every home. In a conditioned basement or encapsulated crawl space with stable humidity, fitting rigid foam or mineral wool batts into these cavities is straightforward. Knauf’s EcoSeal or Rockwool Comfortbatt cut cleanly with a serrated knife and friction-fit without fasteners if the cavity is square. What makes this DIY-appropriate: there’s no wind-washing from attic ventilation, no combustion safety concerns from recessed lights, and the space is typically accessible without contortion. We’ve guided Leander homeowners through this in finished basements near Lakeline Ranch where the rim joist sat exposed behind a drop ceiling.
What these three tasks share: they don’t alter the pressure boundary, they don’t require specialized equipment, and their success doesn’t depend on installation density or coverage uniformity. They’re weatherization, not envelope modification.
The Blown Insulation Trap: Why DIY Attic Fills Fail
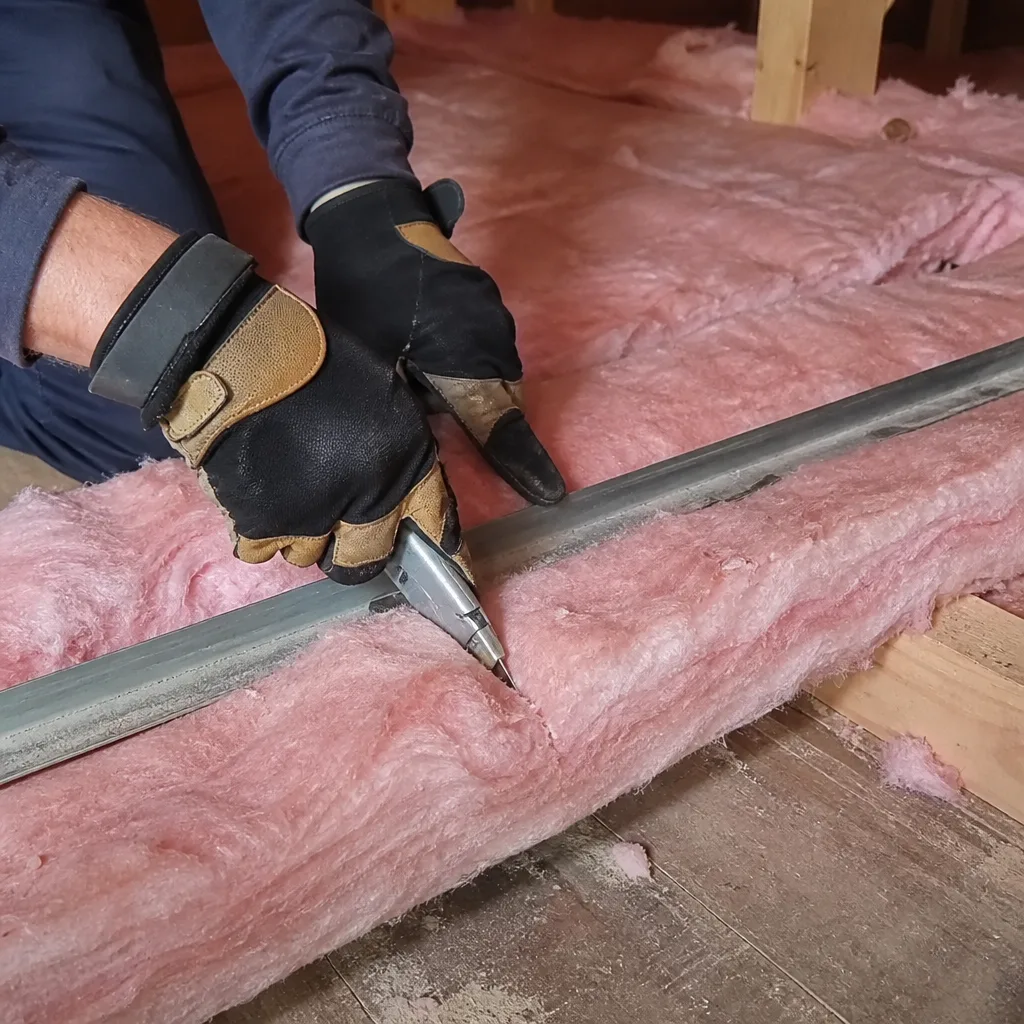
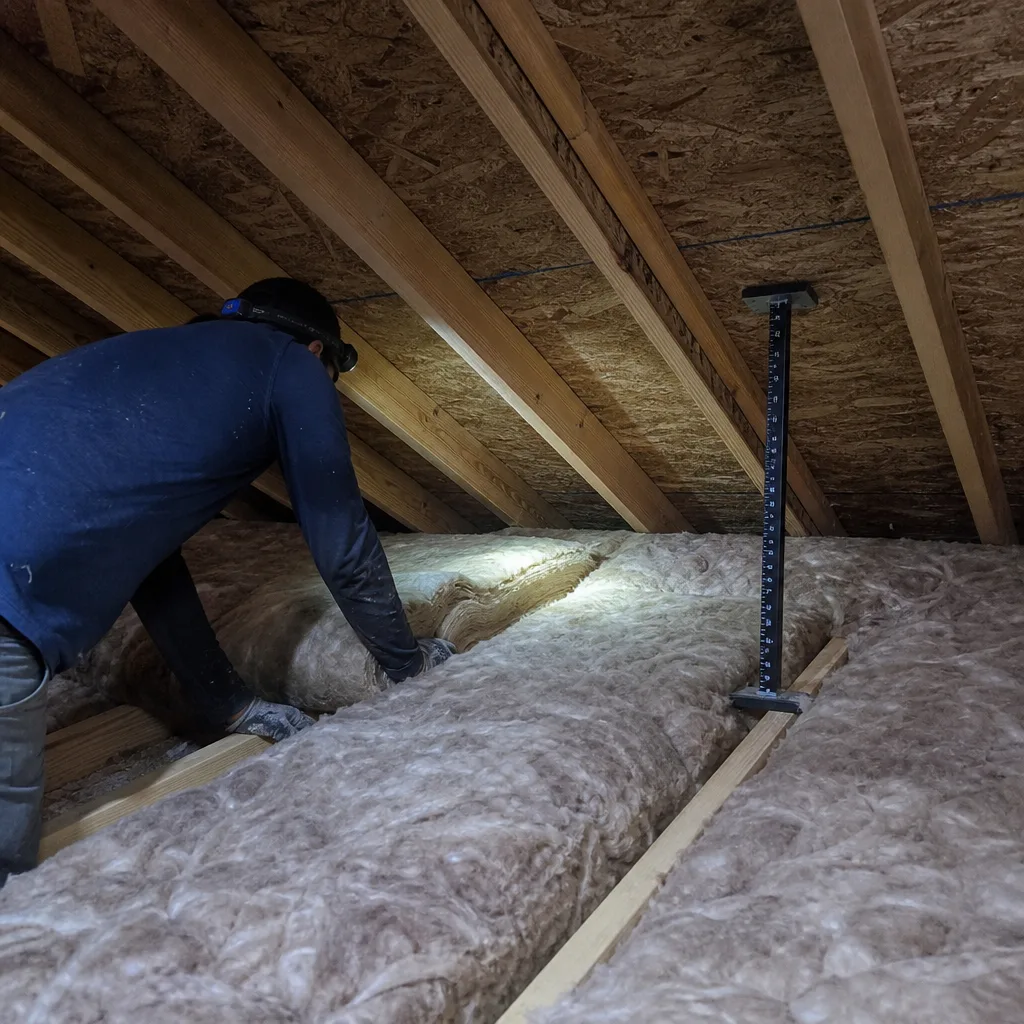
This is where we see the most expensive DIY mistakes in Leander, and they’re invisible for years.
The scenario repeats: a homeowner rents the machine, buys 20 bags of fiberglass or cellulose, and blows it to the depth the chart recommends for their target R-value. The attic looks full. The temperature in the rooms below feels better for a month or two. Then summer hits, the electric bill barely moves, and the homeowner assumes insulation “just doesn’t work that well.”
Here’s what actually happened. The blown material filled the volume but didn’t stop the air movement. Top plates, wire penetrations, plumbing stacks, and chimney chases still leaked. The insulation became a filter, not a barrier, trapping dusty air patterns that show up as dark streaks on the material surface within two years. We’ve photographed this exact pattern in Leander’s Deerbrooke and Bryson subdivisions, where DIY attic fills from 2020-2022 now sit at half their labeled R-value due to settling and wind-washing through unsealed gaps.
The blower-door number tells the story. Before any insulation goes in, a professional crew seals the attic floor: top plates with foam, can lights with covers, penetrations with caulk and foam, and the chimney chase with fire-rated barriers. The blower-door test, a pressurization reading that shows in one number how much air your building envelope is losing, might read 4,200 CFM50 before sealing and 2,100 after. Only then does the insulation go in. The material performs to spec because the air it’s meant to slow down isn’t moving through it.
DIY blown insulation skips this sequence. The result is a thick layer of underperforming material that costs more to remove and redo than professional installation would have cost originally. In our experience across Leander, the rework cost for a DIY attic fill that skipped air sealing runs 2.5 to 3 times the original professional quote.
Equipment Reality Check: Rental vs. Professional Blower Performance
The rental machine at your Leander Home Depot or Lowe’s is a portable electric unit, typically a single-stage blower feeding a 2.5-inch hose. Professional rigs are truck-mounted, two-stage machines with 4-inch hoses and variable air pressure controlled at the nozzle. The difference matters in ways that affect your attic for decades.
| Specification | Rental Machine | Professional Truck-Mount |
|---|---|---|
| Typical operating PSI | 2.5-3.5 PSI | 6-10 PSI |
| Hose diameter | 2.5 inches | 4 inches |
| Material feed rate | Variable, user-controlled | Calibrated to product spec |
| Installed density (fiberglass) | 0.4-0.5 lbs/sq ft | 0.5-0.6 lbs/sq ft |
| Typical depth loss at 5 years | 15-25% | 5-10% |
That installed density gap translates directly to R-value degradation. Fiberglass blown at 0.4 lbs/sq ft settles faster than the same product at 0.55 lbs/sq ft. Over five years, a DIY installation that started at R-38 can settle to an effective R-28 or lower. The professional installation, with proper density and an air-sealed substrate, holds within 5-10% of its original value.
There’s also the coverage calculation. Bags of blown fiberglass are labeled with coverage charts based on professional installation density. A homeowner using a rental machine typically needs 20-30% more bags to achieve the same settled depth, eroding much of the apparent material savings. At $35-$45 per bag for Owens Corning AttiCat or Johns Manville Climate Pro, that gap adds up.
The final equipment factor: hose reach. Rental machines sit in your driveway or garage. The hose drags across your threshold, up the attic stairs, and through the hatch. Every kink and bend reduces air velocity and material feed consistency. Professional rigs park at the curb, and the hose routes through a window or directly to the attic via exterior vent. The material flows evenly, and the technician adjusts pressure at the nozzle based on cavity depth and framing density.
The Insurance Question DIY Guides Never Address
Here’s the scenario no one discusses in the how-to videos. A Leander homeowner installs blown insulation in their attic, working around can lights and the HVAC plenum. Two years later, a can light overheats because the wrong cover was used, or condensation forms on the plenum because the air seal was incomplete, and water stains the ceiling below. The homeowner files a claim.
The adjuster’s first question: was the work permitted and performed by a licensed contractor? If not, the claim enters a different review track. Texas property insurance policies typically cover sudden and accidental damage, but they exclude damage from faulty workmanship or unpermitted alterations when those are contributing causes. The exclusion language varies by carrier, but we’ve seen claims reduced or denied in Williamson County when unpermitted attic work was documented in photos or inspector notes.
The specific risk with DIY insulation isn’t the material itself. It’s the interactions: insulation contacting hot fixtures, vapor barriers installed on the wrong side of the assembly in our cooling-dominant climate, or air sealing that traps moisture against roof decking. Professional contractors carry general liability and workers’ compensation insurance that covers these downstream events. DIY work shifts that risk entirely to the homeowner’s policy, and the policy may not respond as expected.
We’re not saying every DIY attic project voids your insurance. We’re saying the question belongs in your decision calculus, and most guides omit it entirely. If you do proceed with DIY work, photograph everything, keep receipts, and consider a post-work inspection by a licensed home inspector to document condition. The $400 inspection cost is cheaper than a disputed claim.
Decision Matrix: Attic Condition, Access, and Baseline Data
Use this framework to place your specific situation on the DIY-to-professional spectrum. We’ve built it from the variables that actually determine success, not from how handy you consider yourself.
| Attic Accessibility | Air Sealing Status | Blower-Door Baseline Exists? | Recommendation |
|---|---|---|---|
| Full standing height, solid flooring | Verified sealed (prior professional work) | Yes | DIY blown fill acceptable with professional-grade machine rental; verify density with depth probe |
| Full standing height, solid flooring | Verified sealed (prior professional work) | No | Hire professional for baseline test before adding insulation; DIY only after verified air seal |
| Full standing height, solid flooring | Unknown or unsealed | Yes or No | Professional required; air sealing must precede insulation |
| Partial height, joist walking only | Any status | Any status | Professional required; safety and coverage uniformity suffer in restricted space |
| Tight or truss-only access | Any status | Any status | Professional required; material placement and air sealing quality depend on technician mobility |
The matrix reveals the pattern: DIY makes sense only when all three variables line up favorably. Two of three, and the risk of subpar performance climbs sharply. One of three, and you’re likely creating a future rework expense.
In Leander specifically, attics in homes built 2015-2020 (the major growth wave in Crystal Falls, Travisso, and Palmera Ridge) typically have partial-height access over blown-in insulation or batts installed by the builder to minimum code. The air sealing in these homes is almost always incomplete. The builder’s insulation subcontracter filled the cavities but didn’t seal the envelope. We’ve tested enough of them to state this with confidence. That places most Leander homeowners in the “unknown or unsealed” row, where professional work is the sound choice.
How Leander’s Climate and Code Shape the Choice
Leander sits in IECC Climate Zone 2, a hot-humid zone where cooling dominates. This changes the physics of your attic in ways that matter for the DIY decision.
First, vapor drive. In our climate, moisture moves from outside in during the long cooling season. An attic with air leaks pulls humid outdoor air into the conditioned space, where it contacts cool surfaces and condenses. Insulation without air sealing traps this moisture against drywall and framing. We’ve found mold on attic-side drywall in Leander homes where DIY blown cellulose was added over leaky ceilings, creating a humid, stagnant cavity. The homeowner saw the insulation as protection; it became a moisture reservoir.
Second, radiant heat. Attic temperatures in Leander peak at 140°F or higher in July and August. Topside Attic Insulation Leander home performance depends on the roof assembly’s ability to reject this heat before it reaches the insulation layer. Radiant barriers, properly installed, reduce radiant heat transfer by 95% when the attic is ventilated. But a DIY radiant barrier installation that blocks soffit ventilation, or that lies directly on insulation where it becomes a dust collector, performs worse than none at all. We’ve removed failed DIY radiant barriers in Leander’s Bar W Ranch where dust accumulation had reduced reflectivity to near zero.
Third, code requirements. The 2021 IECC, adopted by reference in Williamson County, requires R-49 in attics for new construction and major renovations. Existing homes are not required to upgrade, but if you do modify the thermal envelope, the work must meet current code for the modified component. A DIY attic fill that triggers a permit requirement (typically when structural or electrical work accompanies it) must be inspected. Most homeowners skip this, creating a documentation gap that surfaces at sale time. We’ve had Leander sellers call us to inspect and document DIY attic work so their buyer’s lender will clear the appraisal.
The climate takeaway: in Leander, insulation performance depends more on air sealing and moisture management than on raw R-value. These are the exact tasks that require blower-door verification and pressure-boundary expertise, not just material handling.
What Professional Work Actually Delivers (Documentation)
When you hire a professional, you’re buying more than labor. You’re buying a documented outcome you can verify and transfer. Here’s what that looks like under The Haven Standard.
Before anyone lifts a tool, you receive a written price, a written scope of work, and a written warranty. No exceptions. The price is flat; the scope specifies materials by brand and R-value; the warranty defines the performance standard and correction process. This is Haven Standard Clause 1, and it’s been our practice since 2016.
The work begins with a blower-door test if air sealing is involved. The technician pressurizes your home to 50 Pascals and measures airflow in cubic feet per minute. That number, say 4,200 CFM50, quantifies your envelope leakage. The crew then seals top plates, can lights, penetrations, and the chimney chase. A second blower-door test verifies the reduction. You receive both numbers in writing, with the percentage improvement calculated. This is the before-and-after documentation that shows you what you paid for.
During the work, the crew photographs each stage: the pre-condition attic, the air sealing in progress, the completed seal before insulation covers it, and the finished installation. These photos go into your Documented Photo Record, delivered with your final invoice. If you sell your home, this record transfers to the buyer. If you have a performance concern within 365 days, the record establishes the baseline for correction under our 365-Day Done Right Promise.
For Attic Insulation in Leander, the professional process also includes combustion safety testing if you have gas appliances in or near the attic. Sealing the envelope changes how your home breathes, and any backdrafting risk from water heaters or furnaces must be identified and mitigated before the final blower-door test. This is a step no DIY guide covers adequately.
Materials are sourced from Owens Corning, Johns Manville, Knauf, Rockwool, CertainTeed, Icynene, Demilec, and GreenFiber, selected for your specific application rather than a proprietary product lock-in. The crew is background-checked and uniformed, and you receive a text when your named technician is en route.
The documentation is the product. Anyone can blow material into an attic. The written scope, the blower-door numbers, the photo record, and the warranty are what distinguish professional work from a weekend project.
Real Cost Comparison: DIY vs. Professional in Leander
Let’s put actual numbers to a typical Leander scenario: a 2,400 square foot home with 1,800 square feet of attic floor, built 2017, with existing R-30 batts and incomplete air sealing. The goal is R-49 total and verified envelope performance.
DIY Path
- Rental blower machine (2 days): $400
- Fiberglass blown insulation, 30 bags at $40: $1,200
- Basic air sealing materials (foam, caulk, tape): $180
- Can-light covers (12 fixtures): $240
- Attic hatch weatherstripping kit: $45
- Personal protective equipment: $75
- Total cash outlay: $2,140
What this doesn’t include: the blower-door test to verify the air seal ($350-$500 if hired separately), the combustion safety test ($150-$250), the time value of two full weekend days, and the risk of suboptimal density or missed leaks. It also doesn’t include the potential rework cost if performance falls short, which in our Leander experience runs $3,500-$6,000 for a professional to remove and reinstall.
Professional Path
A professional scope for this home, including air sealing, blower-door testing, and blown fiberglass to R-49, typically runs $3,800-$5,200 in the Leander market. The range depends on accessibility, existing conditions, and material selection. Spray Foam Insulation in Leander runs higher, at $5,500-$8,000 for equivalent coverage, but delivers superior air sealing in a single application.
The professional price includes: written scope and warranty, background-checked technicians, before-and-after blower-door documentation, photo record, combustion safety verification, and the 365-Day Done Right Promise. It also includes the density calibration and hose routing that rental equipment cannot match.
The net difference, after accounting for verification tests a thorough DIYer would add, is roughly $1,500-$2,500. Spread over the 20-30 year life of the installation, that’s $50-$125 per year for documented performance, warranty protection, and the elimination of rework risk. For most Leander homeowners in our service area, that tradeoff favors professional work for the attic envelope itself, with DIY reserved for the three tasks identified earlier.
Common Mistakes to Avoid
- Blowing insulation over unsealed can lights. The material traps heat, creates a fire hazard, and the air leak continues. Pre-fab covers or professional fire-rated sealing must come first.
- Installing vapor barriers on the attic floor in Leander’s cooling climate. This traps moisture against the ceiling drywall. In hot-humid Zone 2, vapor barriers belong on the exterior or not at all; the assembly must dry toward the attic.
- Compressing batts to fit under rafters or around framing. A compressed R-30 batt performs at R-15 or lower. Cut to fit the cavity width, or use a lower R-value that fills without compression.
- Blocking soffit ventilation with insulation. Leander attics need intake at the soffit and exhaust at the ridge. Baffles must maintain a 2-inch clear channel; without them, moisture accumulates and shingle life shortens.
- Ignoring the attic hatch in a “complete” job. We’ve measured hatches leaking 150 CFM50 in otherwise well-sealed Leander attics. The hatch is part of the pressure boundary and needs weatherstripping and rigid insulation equal to the attic R-value.
- Skipping the blower-door test after air sealing. Without the number, you don’t know if the work succeeded. We’ve found $800 “air sealing” jobs in Leander that moved the needle by less than 10% because the crew missed the top plates.
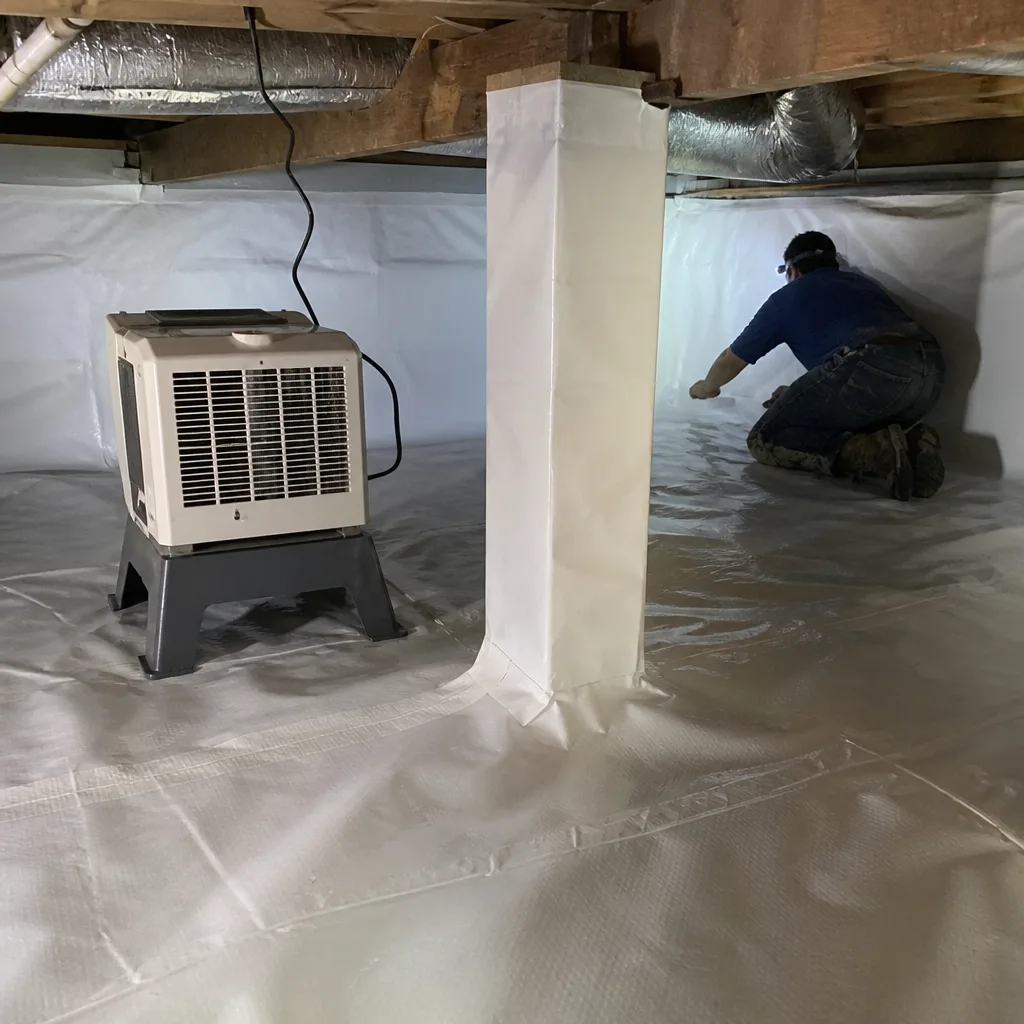
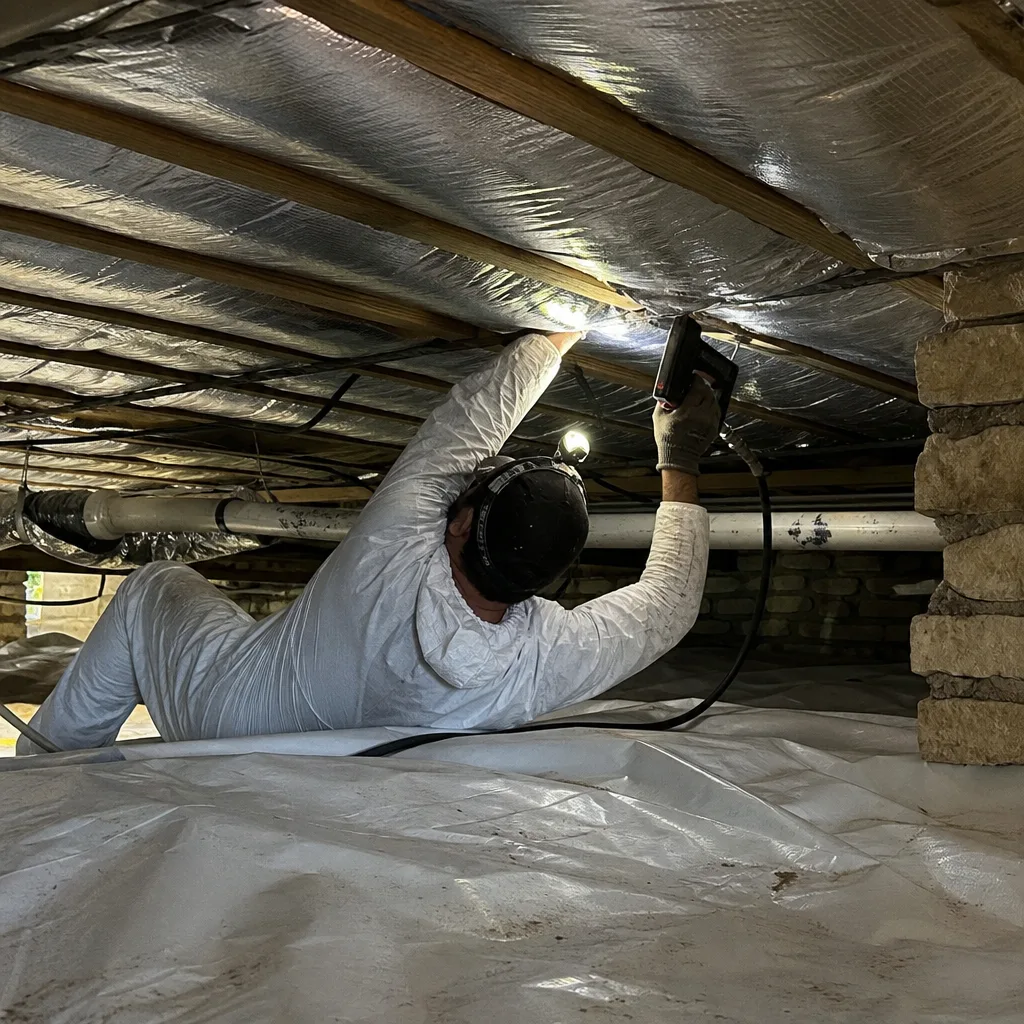
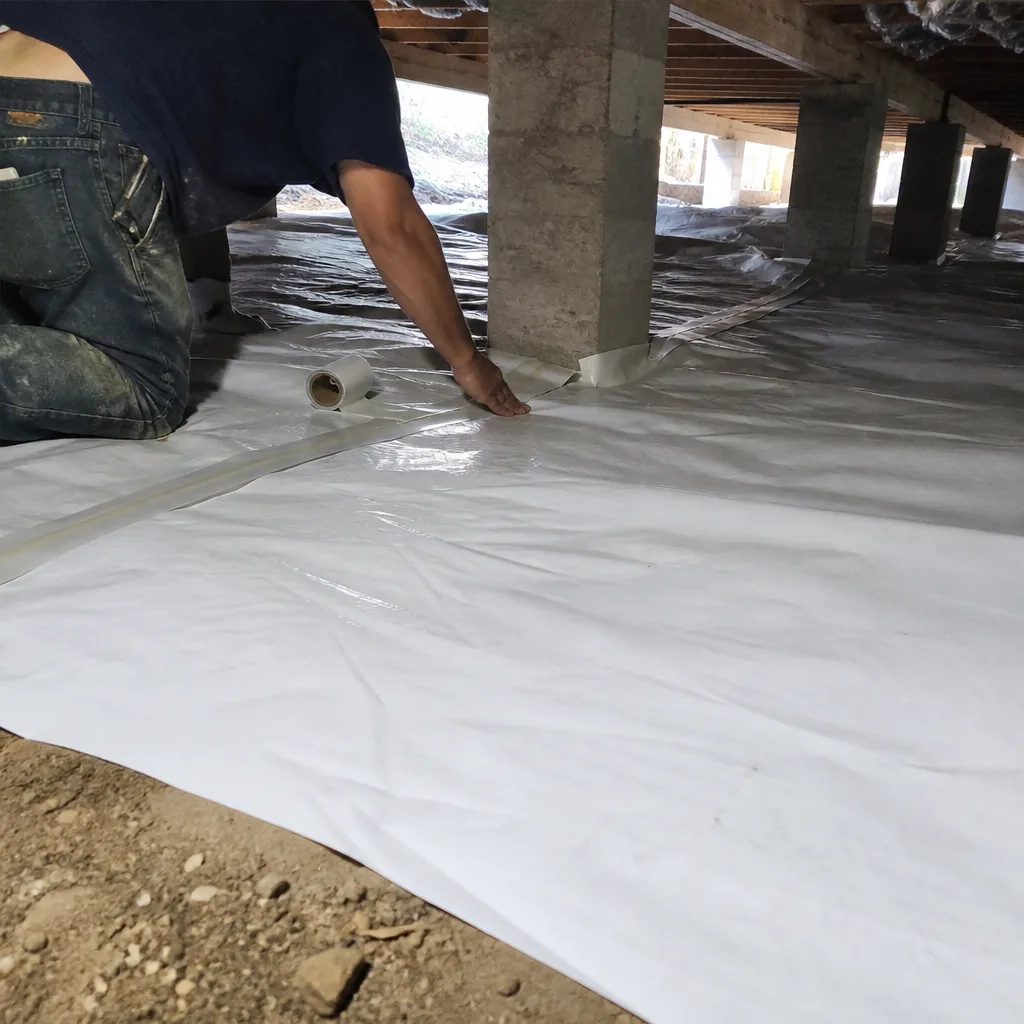
- Using the wrong material for the application. Fiberglass in a vented crawl space absorbs moisture and sags. Crawl Space Encapsulation & Vapor Barrier in Leander requires closed-cell spray foam or rigid foam, not batts.
When to Call a Professional
Call a professional when your attic lacks a verified air seal, when accessibility restricts your movement or material handling, when your home has combustion appliances that require safety testing, or when you need documentation for insurance, resale, or warranty purposes. In Leander’s climate, any attic work that modifies the pressure boundary without blower-door verification is a performance gamble.
Topside Attic Insulation Leander offers free estimates in Leander. We’ll assess your attic’s condition, run a blower-door test if air sealing is involved, and give you a written price before any work starts. Call (737) 252-7159 to schedule. If you have a competing quote, bring it in for a Free Second Opinion. We’ll read it with you and flag what’s included, what’s omitted, and where the performance risks sit.
Frequently Asked Questions
Most attic insulation jobs in a Leander home of 2,000-2,800 square feet run between $3,800 and $5,200 for blown fiberglass with air sealing and blower-door verification. See our Insulation Cost Breakdown: The Leander Homeowner’s Reference for 2026 for a detailed price analysis. Spray foam runs $5,500-$8,000. The exact price depends on accessibility, existing conditions, and material selection. Call (737) 252-7159 for a written estimate specific to your home; estimates are free.
Repair is cheaper only when the existing insulation is dry, uncompressed, and installed over a sealed attic floor. In Leander, we find builder-grade insulation from 2015-2020 is typically compressed, displaced by trades, or installed over an unsealed floor. In these cases, removal and replacement with proper air sealing costs less over ten years than adding material to a compromised base. We assess this on every estimate and tell you honestly which path saves money.
You can, but you shouldn’t without verifying the batts are dry, uncompressed, and the attic floor is air-sealed. Wet or compressed batts trap moisture and reduce the new material’s effectiveness. In Leander’s humid summers, we’ve pulled back “dry” batts that held 15% moisture content against the ceiling. The safe sequence: test moisture, air seal, then add. Skipping any step risks performance failure.
A typical Leander attic, 1,500-2,000 square feet, takes one day for air sealing and one day for insulation installation. Larger or more complex attics, or those requiring insulation removal first, may extend to three days. We schedule consecutive days and confirm your named technician’s arrival by text.
Permits are required when the work involves structural modification, electrical changes, or when you’re altering the thermal envelope as part of a larger renovation. Standalone insulation upgrades typically don’t require permits in Williamson County, but we verify requirements for each job and handle permitting when needed. If you’re selling within two years, having permit documentation smooths the buyer’s inspection.
The rental machine operates at 2.5-3.5 PSI with a 2.5-inch hose, producing lower installed density and 15-25% depth loss over five years. Professional truck-mounts run 6-10 PSI with 4-inch hoses, calibrated density, and 5-10% long-term settling. The coverage chart on the bag assumes professional density. DIY installations typically require 20-30% more material than the chart indicates, reducing or eliminating the labor savings.
It depends on your policy language and whether the work was performed to code. Most Texas policies exclude damage from faulty workmanship or unpermitted alterations. If a can light overheats due to improper insulation contact, or if moisture damage results from an incomplete air seal, your carrier may reduce or deny the claim. Professional work carries general liability insurance that covers these downstream events. Document any DIY work thoroughly, or hire a professional for the pressure-boundary modifications and handle only the three DIY-appropriate tasks yourself.
The Bottom Line
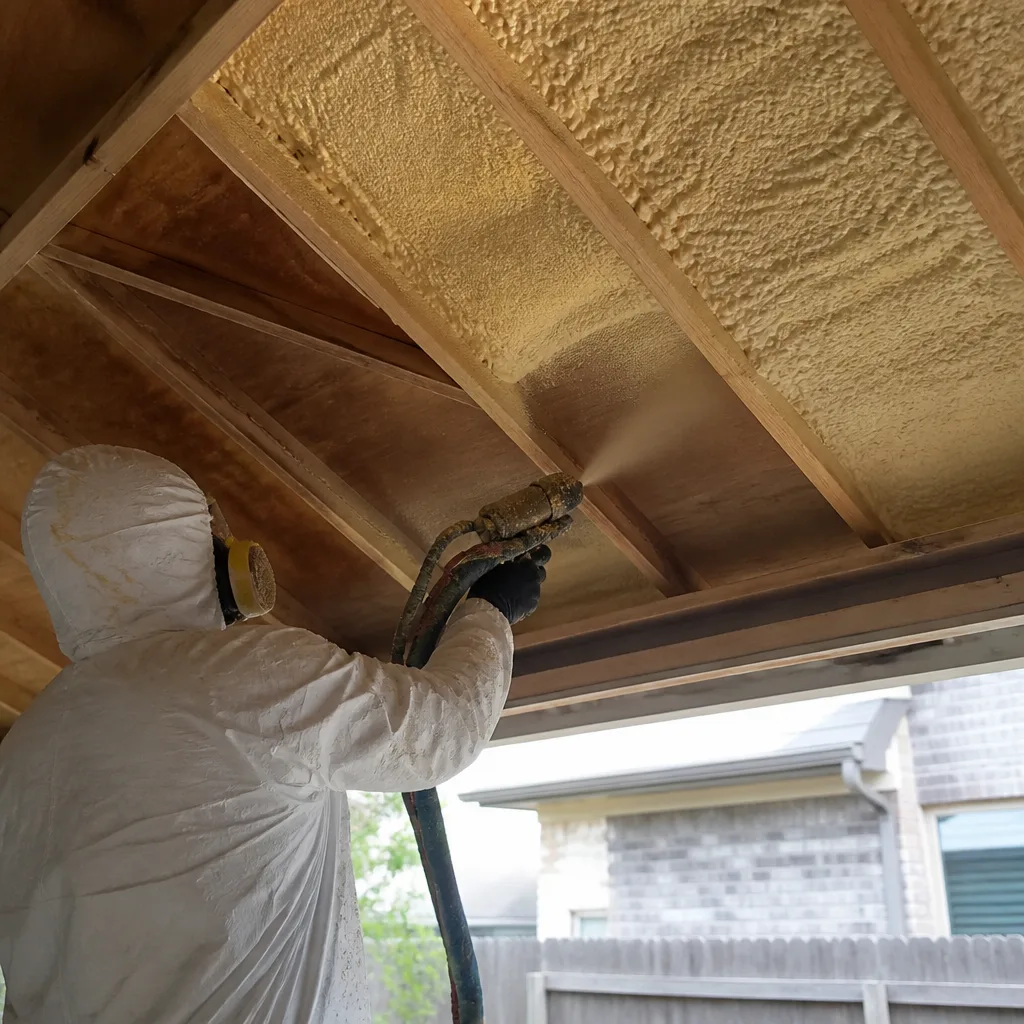
The DIY-versus-professional question for Leander homeowners isn’t about skill or cost in the abstract. It’s about which specific tasks can be completed without compromising the building envelope’s measured performance. Weatherstripping an attic hatch, installing pre-fab can-light covers, and fitting accessible rim-joist batts are genuinely DIY-appropriate. Everything that modifies the pressure boundary, including blown attic insulation without verified air sealing, requires professional equipment, verification testing, and documentation. The $1,500-$2,500 premium for professional attic work buys measured performance, warranty protection, and the elimination of rework risk. In a climate where cooling dominates and moisture management determines material longevity, that’s the calculation that matters.
Written by Wes Okafor, Owner at Topside Attic Insulation Leander, serving Leander since 2016.