
Last updated September 24, 2026
Insulation Warning Signs: A Leander Homeowner’s Reference Guide
A 15% jump in your summer cooling bill is almost never caused by insulation depth loss alone. In Leander’s climate, where attic temperatures routinely hit 140°F from June through September, it takes a combination of depth loss plus an air-sealing failure to move the needle that much. Fixing just one and ignoring the other recovers only a fraction of the performance loss. This guide works backward from the symptoms Leander homeowners actually notice - the bill shock, the hot second-story bedroom, the musty smell after rain - to the specific failure mechanisms hiding in attics, crawl spaces, and wall cavities across Cedar Park, Crystal Falls, and the older neighborhoods off Hero Way. For a broader overview, see The Complete Guide to Insulation in Leander.
Quick Answer
The most common insulation warning signs in Leander homes are: energy bills rising 10-20% year-over-year without rate increases, rooms that won’t hold temperature within 3°F of the thermostat setting, visible insulation displacement or settling in the attic, and musty odors after rain that indicate moisture trapped in the thermal boundary. These symptoms typically appear 12-24 months after the actual failure begins, which means the underlying problem - whether it’s wind-washed blown-in, failed spray-foam adhesion, or bypass air leaking through top plates - is already more extensive than it looks. Our Attic Insulation Maintenance Checklist for Leander Homeowners can help catch these issues earlier.
Table of Contents
- Why Warning Signs Show Up Late: The Downstream Effect Problem
- Reading Your Bill: When a Spike Means Insulation, Not Just Rates
- Uneven Room Temperatures: Insulation Failure vs. HVAC Sizing Failure
- Attic Visual Inspection: A Graded Scale for Blown-In Insulation
- Moisture and Smell: What Wet Insulation Actually Smells Like
- Spray Foam Red Flags: Shrinkage, Gaps, and Off-Gassing
- Cold-Weather Clues: What Leander’s Brief Freezes Reveal
- Crawl Space and Rim Joist Warning Signs
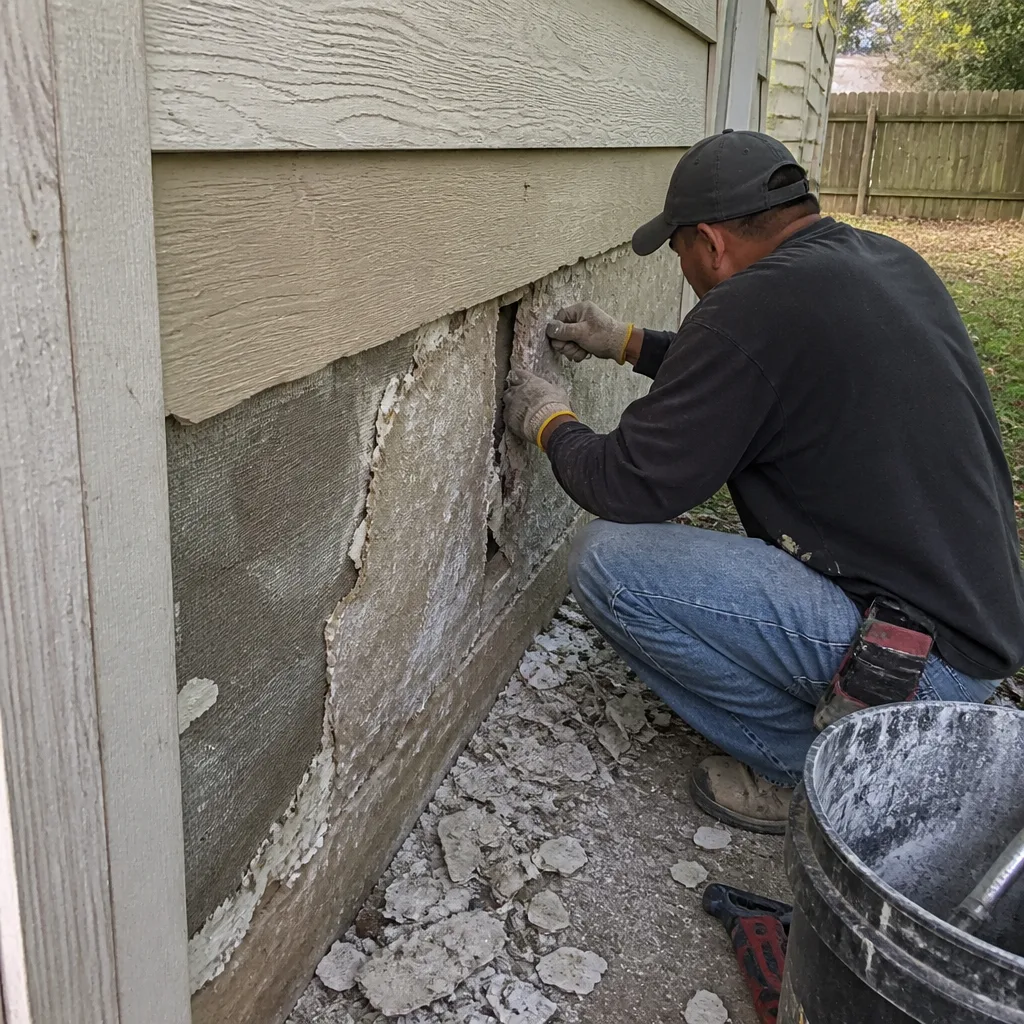 Before
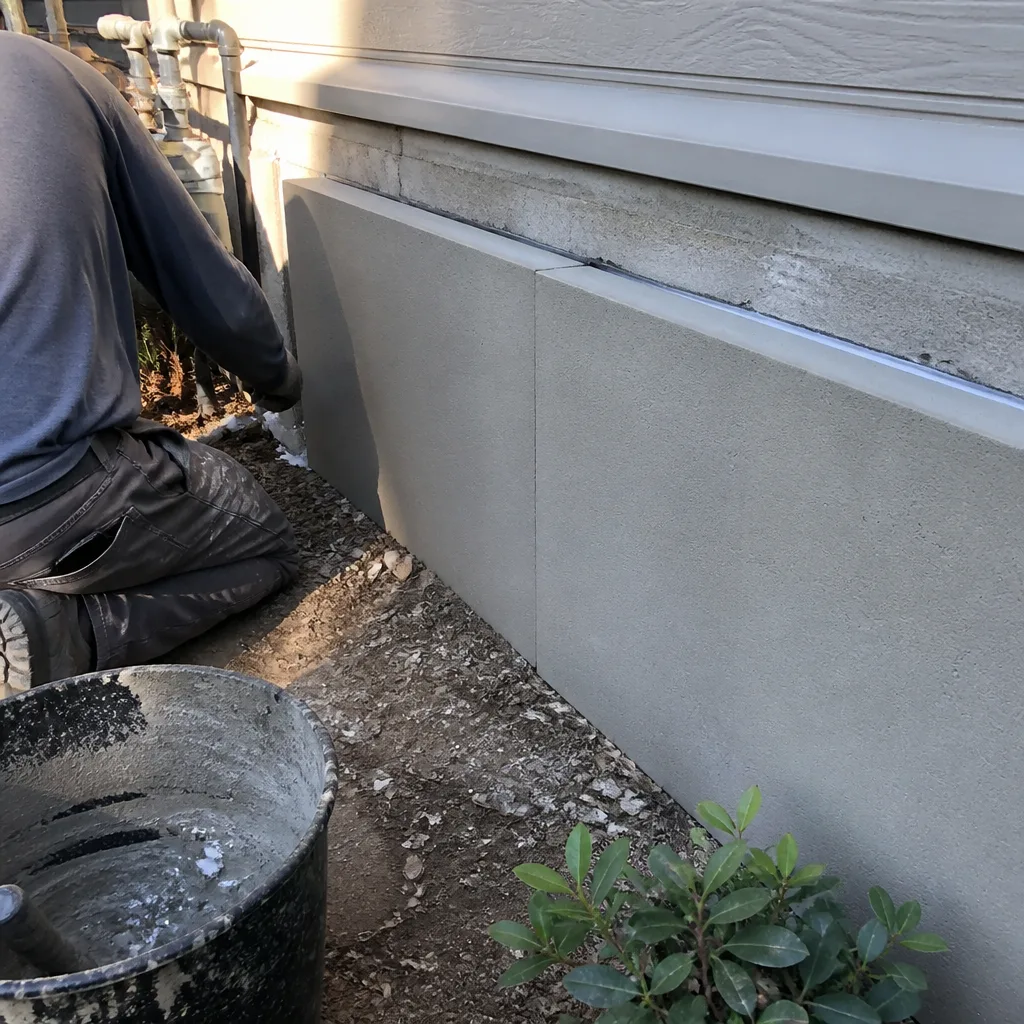 After
AfterWhy Warning Signs Show Up Late: The Downstream Effect Problem
Insulation and air sealing work as a system. The thermal boundary - the invisible line separating conditioned space from unconditioned space - depends on both material depth and airtightness. When one fails, the other compensates for a while. A well-sealed attic with thin insulation performs better than a thick attic with gaps blowing conditioned air into the soffits.
This compensation masks problems. In Leander, where cooling dominates the energy budget, a homeowner might run the AC an extra hour daily without noticing. The system cycles longer, the bill creeps up 8% one year, 12% the next. By the time the bedroom is genuinely uncomfortable, the attic has likely suffered both depth loss and air-leak enlargement. For a seasonal approach to preventing this, read our Seasonal Insulation Care for Leander: Year-Round Homeowner’s Guide.
We’ve documented this pattern across hundreds of Leander homes. The typical timeline:
- Months 0-6: Small air leak develops - a can light gasket shrinks, a top plate crack opens, a duct boot pulls away from drywall. No visible symptom. Blower-door reading might shift from 5.5 to 6.5 ACH50 without the homeowner knowing.
- Months 6-18: Conditioned air escaping into the attic carries moisture. In Leander’s humid shoulder seasons, this moisture condenses on cooler framing members. Insulation near the leak point begins to compress or clump. Performance degrades gradually.
- Months 18-30: The homeowner notices the bill. Or the guest room “never gets cool.” Or there’s a smell after heavy rain. The problem is now distributed - multiple leak points, degraded insulation in channels, possibly pest activity attracted to the moisture.
The cost difference between catching this at month 6 versus month 24 is substantial. Early intervention means targeted air sealing and spot insulation. Late intervention often requires full removal, decontamination, and reinstallation. This is why we publish before-and-after blower-door numbers on every job - the pressurization reading, in a single figure, reveals envelope degradation long before the bill does. Browse our more guides & resources for additional ways to protect your home’s performance.
Attic Insulation in Leander jobs that start with a blower-door test catch problems an average of 14 months earlier than jobs that start with a visual complaint.
Reading Your Bill: When a Spike Means Insulation, Not Just Rates
Texas rate fluctuations are real. But rate changes are step functions - they jump in July or January when the new tariff takes effect. Insulation degradation produces a slope: gradual, accelerating, and temperature-dependent.
Here’s how to distinguish them:
- Rate-driven increase: Same kWh usage, higher cost per kWh. The bill jumps once, then stays flat at the new level. Your usage pattern hasn’t changed.
- Insulation-driven increase: Higher kWh usage, same or similar rate. The system runs longer to hit the same setpoint. The increase is worst in the most extreme months - July and August in Leander, when attic temperatures peak.
A useful benchmark: if your summer kWh usage per cooling degree-day has risen more than 12% compared to three years prior, and your thermostat habits haven’t changed, the envelope is the prime suspect. Cooling degree-days normalize for weather variation, so this comparison works even across hotter and cooler summers.
In Leander specifically, we’ve tracked a pattern in homes built 2012-2018, particularly in the Palisades and Mason Hills areas. These neighborhoods saw rapid construction during a period when blower-door testing wasn’t yet standard practice in this market. Many homes were insulated to visual inspection standards - full bays, no gaps visible from the attic hatch - without pressure-testing the air barrier. The result is a cohort of homes that perform adequately for 5-7 years, then degrade faster than expected as settling, thermal cycling, and minor structural movement open leak paths that were always latent.
The fix isn’t guessing. A blower-door test - a pressurization reading that shows, in one number, how much air your building envelope is losing - costs less than one month’s excess cooling bill and tells you exactly whether the problem is envelope or equipment.
Uneven Room Temperatures: Insulation Failure vs. HVAC Sizing Failure
A room that won’t hold temperature sends most homeowners to their HVAC contractor first. Sometimes that’s correct. Often it’s not. Here’s the diagnostic sequence we use in Leander homes.
Step 1: Check the blower-door number.
In a Leander home built after 2010, a blower-door reading above 7 ACH50 points to the envelope, not the equipment. The 2012 IECC, adopted with local amendments, set a nominal target of 5 ACH50 for new construction. A home that tests at 8 or 9 is leaking conditioned air faster than the HVAC can replace it, especially at the extremities - the west-facing second-story bedroom, the bonus room over the garage, the addition with the crawl space beneath.
We’ve tested homes in Crystal Falls that read 9.5 ACH50 with perfectly sized equipment. The homeowner had already received two quotes for larger AC units. The actual problem: disconnected duct boots in the attic and wind-washed insulation over the master bedroom, where attic venturi effects had scoured the blown-in material toward the ridge.
Step 2: Map the temperature differential against the insulation plan.
If the problem room is directly under a section of attic with settled or displaced insulation, that’s your answer. If the problem room is at the end of a long duct run with adequate insulation above, the duct is suspect. We use thermal imaging to distinguish these cases in about 10 minutes - the camera shows whether the ceiling is warm (missing insulation) or the register is delivering cool air that warms before reaching the occupied space (duct leakage).
Step 3: Check for pressure imbalances.
A bedroom with the door closed and no return air path can run 4-6°F different from the hallway even with perfect insulation. This is an HVAC design issue, not an insulation issue. The diagnostic is simple: open the door. If the temperature equalizes within 30 minutes, you need a transfer grille or jumper duct, not more insulation.
The key distinction: insulation failures produce temperature problems that correlate with outdoor temperature extremes. HVAC sizing failures produce problems that correlate with load conditions - afternoon sun, many occupants, door closures - regardless of outdoor temperature.
Topside Attic Insulation Leander home assessments include blower-door testing, thermal imaging, and duct pressure testing as standard. We don’t guess which system has failed.
Attic Visual Inspection: A Graded Scale for Blown-In Insulation
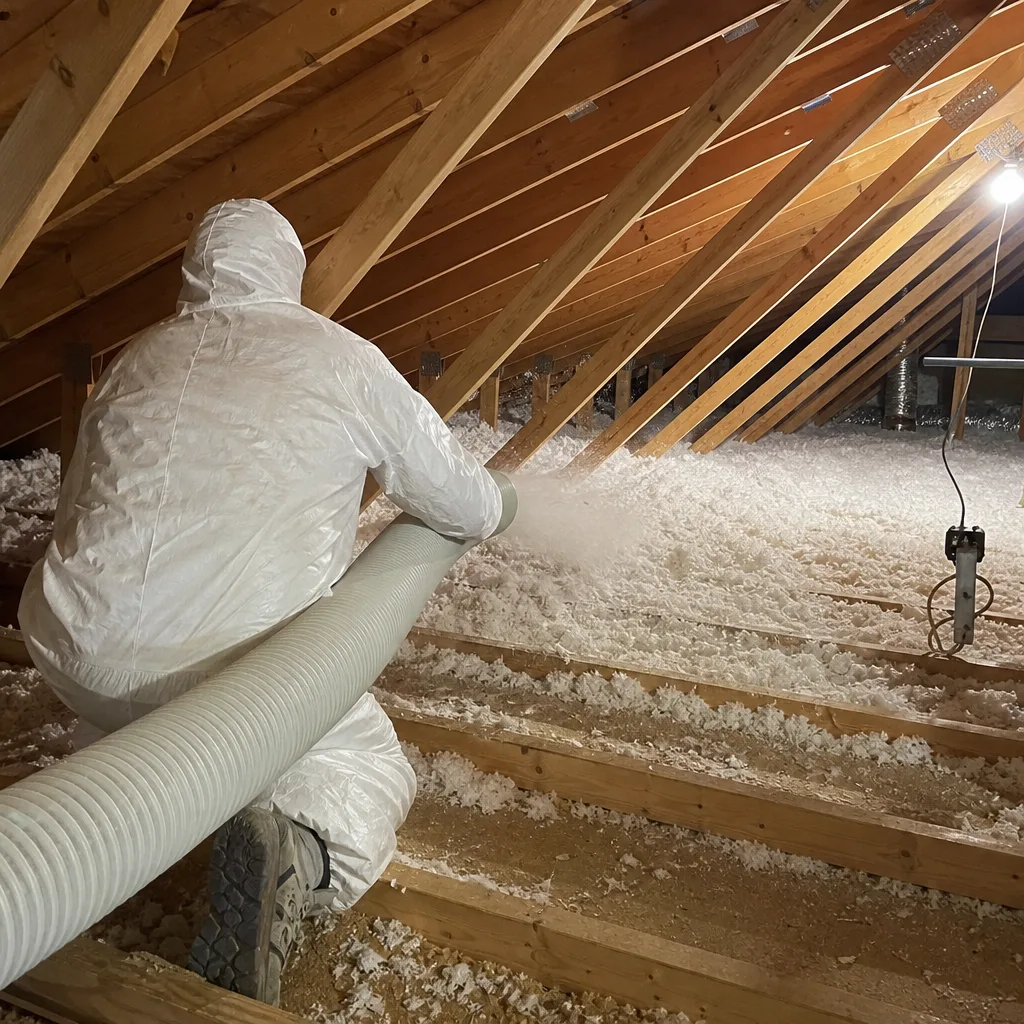
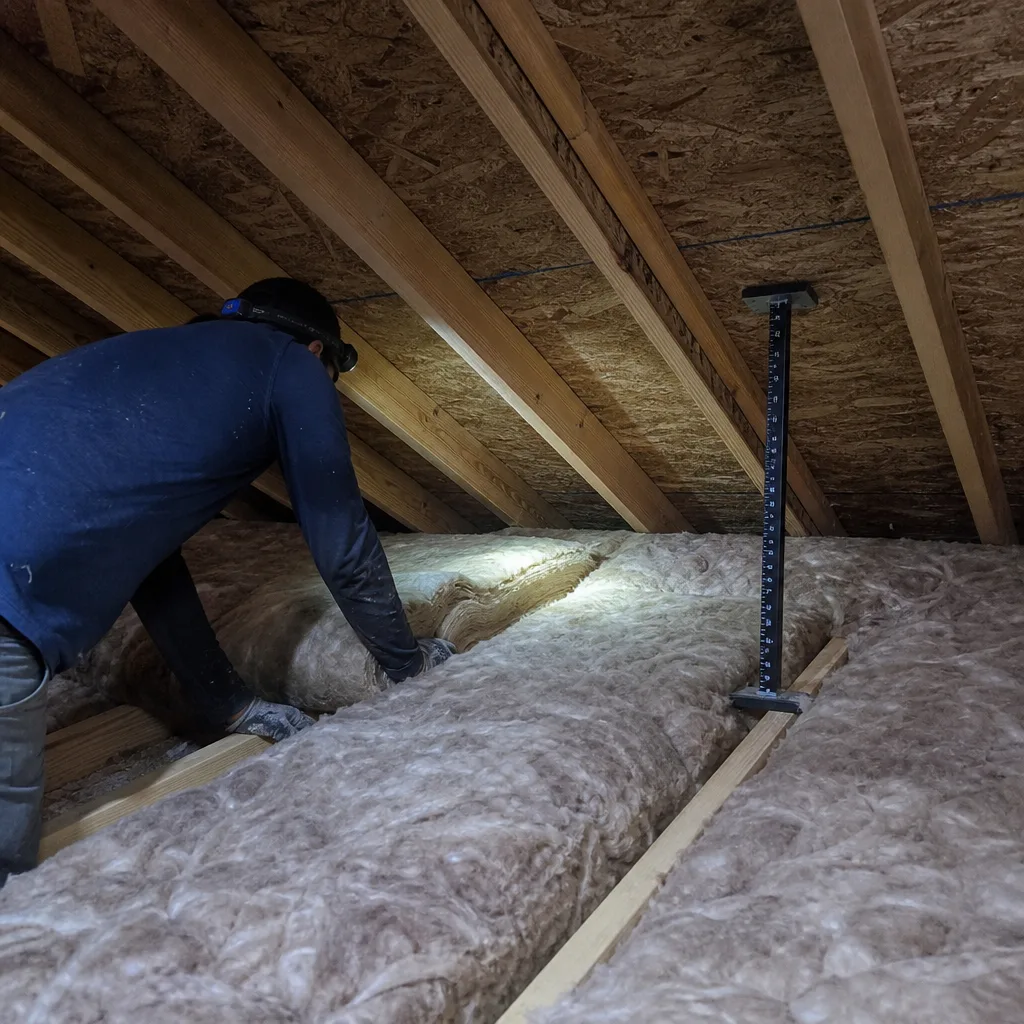
Most Leander attics use blown-in fiberglass or cellulose. Both materials shift over time, but the pattern of displacement tells you the failure mechanism. Here’s the visual grading scale we use during inspections.
Grade A: Settled but intact.
The insulation surface is lower than the original joist tops - typical settling is 10-20% for fiberglass, 15-25% for cellulose - but the material is continuous and level. You can still see the joists, but the cavities are full. Depth measurements read within 1 inch of the settled norm for the material age. This is normal aging, not failure.
Grade B: Wind-washed.
The insulation shows directional patterns - drifts against vertical surfaces, scoured channels near eave vents, bare spots near the ridge where attic airflow has displaced material. This is common in Leander homes with passive venting and inadequate baffles. The attic is essentially inhaling and exhaling through the insulation, which degrades both thermal performance and air quality. We’ve seen wind-washing reduce effective R-value by 30% even when average depth looks acceptable.
Grade C: Pest-channeled.
Discrete trails, nesting pockets, or compacted areas where rodents have moved through the insulation. The material is displaced vertically - pushed down to create runways - rather than horizontally wind-washed. Pest channeling is often accompanied by staining from urine and oils, which reduces insulation effectiveness and creates odor issues. In Leander, roof rats and mice are the typical culprits, especially in neighborhoods with mature oak canopy that provides aerial access.
Grade D: Water-damaged or mold-contaminated.
Insulation that clumps, darkens, or shows visible mold growth. This material must be removed; it cannot be restored. The source of moisture - roof leak, duct condensation, or air leakage condensation - must be found and fixed before replacement.
Depth benchmarks for Leander:
- Original blown fiberglass, 2015-2020 install: typically installed at R-38 (about 12 inches), now settled to 10-11 inches. Below 9 inches is substandard.
- Original blown cellulose, 2015-2020 install: typically installed at R-38 (about 10-11 inches), now settled to 8-9 inches. Below 7 inches is substandard.
- Wind-washed areas: measure the thinnest point, not the average. A channel scoured to 3 inches is effectively R-10 in a ceiling that needs R-38.
We document every attic with a photo record - included on every job, not available on request - so homeowners can see exactly what we found and where.
Moisture and Smell: What Wet Insulation Actually Smells Like
“Musty attic smell” is not a single diagnostic. Different insulation materials produce different odor profiles when moisture-compromised, and the specific smell points to the remediation required.
Wet cellulose: A sharp, ammonia-adjacent smell with earthy undertones. Cellulose is treated with borates for fire resistance and pest control; when saturated, these salts become mobile and produce a distinctive chemical edge. Wet cellulose also compresses into dense, cake-like masses that hold moisture for weeks. We’ve removed cellulose in Leander homes that was still damp six weeks after the roof leak was repaired, because the material had formed impermeable clumps that prevented drying.
Wet fiberglass: A flatter, more generic mildew smell. Fiberglass doesn’t absorb water into its structure; the moisture sits between fibers and on the binder glue. This actually dries faster than cellulose if the leak source is fixed and ventilation is adequate. However, the binder breakdown that accompanies wetting reduces the material’s structural integrity - it becomes fluffy and unmanageable, and the reduced binder means more fiber shedding into the air.
Spray foam off-gassing: A sweet, chemical smell often described as “new car” or “painter’s shop.” This is distinct from moisture odor and indicates incomplete curing or thermal degradation of the foam chemistry. In Leander’s attic temperatures, poorly mixed or off-ratio spray foam can degrade over time, releasing isocyanates and other compounds. The smell is often strongest on hot afternoons when the attic is at peak temperature.
The critical distinction: moisture smells that worsen after rain indicate a bulk water leak or condensation point that needs immediate attention. Smells that are constant, regardless of weather, indicate a material chemistry issue or chronic ventilation problem.
Our crews are trained to identify these profiles during inspection. Under Haven Standard: Documented Photo Record on every visit, so the homeowner has visual evidence of what we found and where the moisture originated.
Spray Foam Red Flags: Shrinkage, Gaps, and Off-Gassing
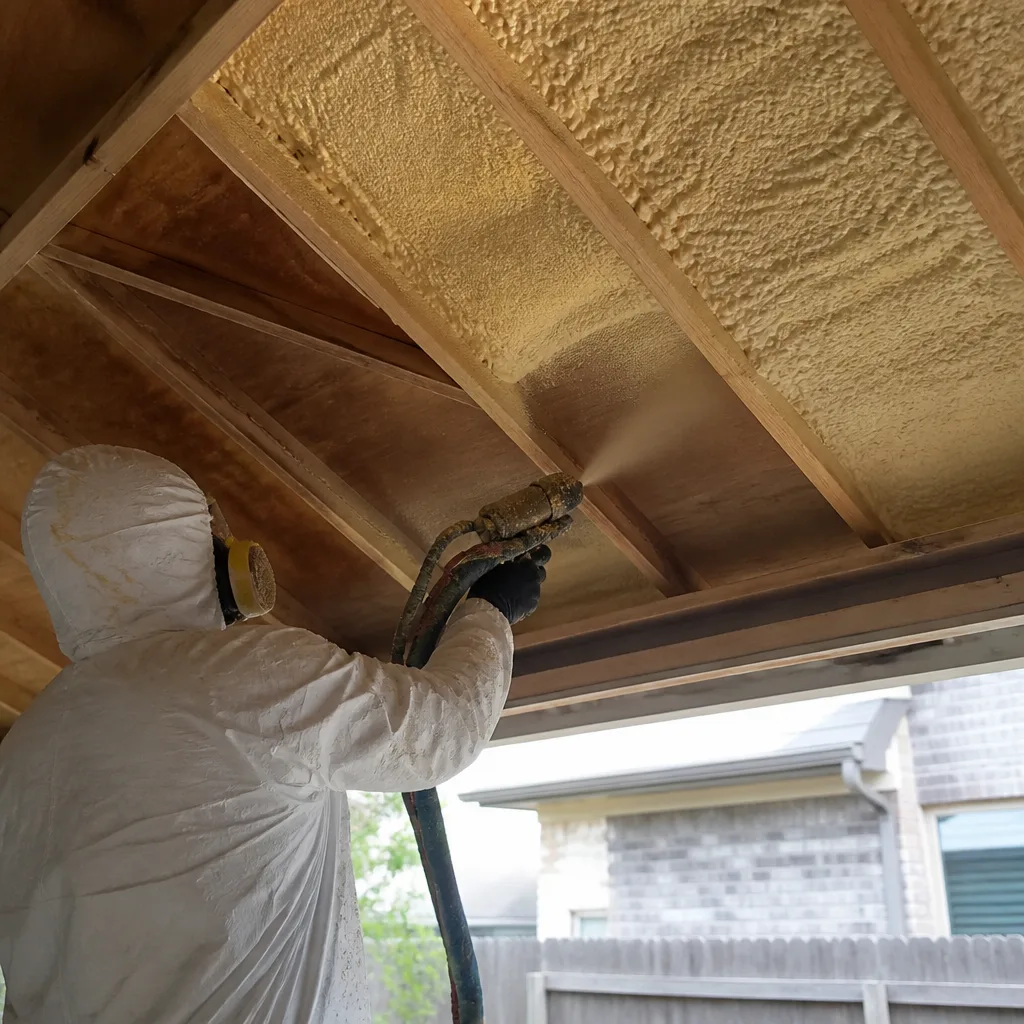
Spray foam insulation - both open-cell and closed-cell - can fail in ways that are nearly invisible without close inspection. The gap between foam and framing is typically less than 1/8 inch, but that’s sufficient to create a measurable air pathway that bypasses the insulation entirely.
Shrinkage indicators:
- Visual: Look for exposed framing edges where foam has pulled back from studs or rafters. In attics with exposed foam, use a flashlight at a low angle to highlight shadow lines at the foam-to-wood interface.
- Tactile: Gently probe the foam surface with a blunt tool. Properly adhered foam is bonded to the substrate; failed adhesion produces a hollow sound and visible movement.
- Thermal imaging: Shrinkage gaps show as linear hot spots on summer attic scans, or cold stripes on winter interior scans. The pattern follows framing members, distinguishing it from missing batts or wind-washed areas.
Thickness and density checks:
Open-cell foam should be installed at approximately 3.5 inches per pass, with a typical total thickness of 5.5-7 inches for R-value targets. Closed-cell is installed in thinner lifts, typically 2 inches per pass, building to 2-4 inches total. Over-thick single passes can produce internal shrinkage stress that manifests as surface cracking months later.
In Leander, we see a specific pattern in homes that used spray foam during the 2018-2021 construction boom: installers working in peak summer heat sometimes applied foam to surfaces above the manufacturer’s recommended substrate temperature. The foam appears normal at installation but develops adhesion failure 18-36 months later as thermal cycling stresses the compromised bond.
Spray Foam Insulation in Leander jobs that we assess for failure always include adhesion testing at multiple points, not just visual review.
Off-gassing and indoor air quality:
Properly cured spray foam is chemically inert. Foam that smells after 30 days of curing, or that develops a smell after being stable for months, indicates a problem. Possible causes: off-ratio mixing (too much or too little blowing agent), application to damp substrates, or thermal degradation from attic temperatures exceeding the foam’s rated service temperature.
We don’t recommend DIY removal of failed spray foam. The material is adhered tenaciously, and improper removal disturbs fibers and potentially uncured chemistry. Our insulation removal and replacement service includes HEPA containment and proper disposal.
Cold-Weather Clues: What Leander’s Brief Freezes Reveal
Leander doesn’t get ice dams. Our snow load is negligible, and roof geometry plus solar exposure typically clears any accumulation within hours. But the same physics that produce ice dams in northern climates - warm interior air leaking into the attic, melting snow from below, refreezing at the eave - produce analogous problems here during our brief hard freezes.
The warning sign to watch for: condensation on interior wall surfaces during cold snaps, particularly on north-facing walls and ceiling corners.
This condensation indicates that warm, humid interior air is reaching a surface cold enough to drop below the dew point. In a properly sealed and insulated envelope, the interior surface of the drywall stays well above dew point even when outdoor temperatures hit 20°F. When air leaks through electrical boxes, top plates, or poorly sealed penetrations, the local surface temperature drops, and moisture condenses.
We’ve inspected Leander homes where the homeowner reported “mystery wet spots” on ceiling corners during the February 2021 freeze and the December 2022 cold snap. In every case, the cause was air leakage at the top plate - the horizontal framing member where the wall meets the ceiling - combined with inadequate or displaced attic insulation at that exact location. The fix is air sealing first, then insulation restoration. Sealed first, then insulated - in that order: Envelope will never blow insulation over an unsealed attic floor; air sealing of top plates, can lights, and penetrations is completed before any insulation is added.
Pipe freeze risk follows the same logic. Pipes in exterior walls or unconditioned crawl spaces freeze when the wall cavity or crawl space temperature drops below 32°F. This happens not because the insulation is thin, but because air movement through the cavity carries cold air to the pipe location faster than the insulation can slow it. A well-sealed wall with R-13 performs better than a leaky wall with R-21.
Crawl Space Encapsulation & Vapor Barrier in Leander addresses this directly by sealing the crawl space from outdoor air and establishing a controlled boundary.
Crawl Space and Rim Joist Warning Signs
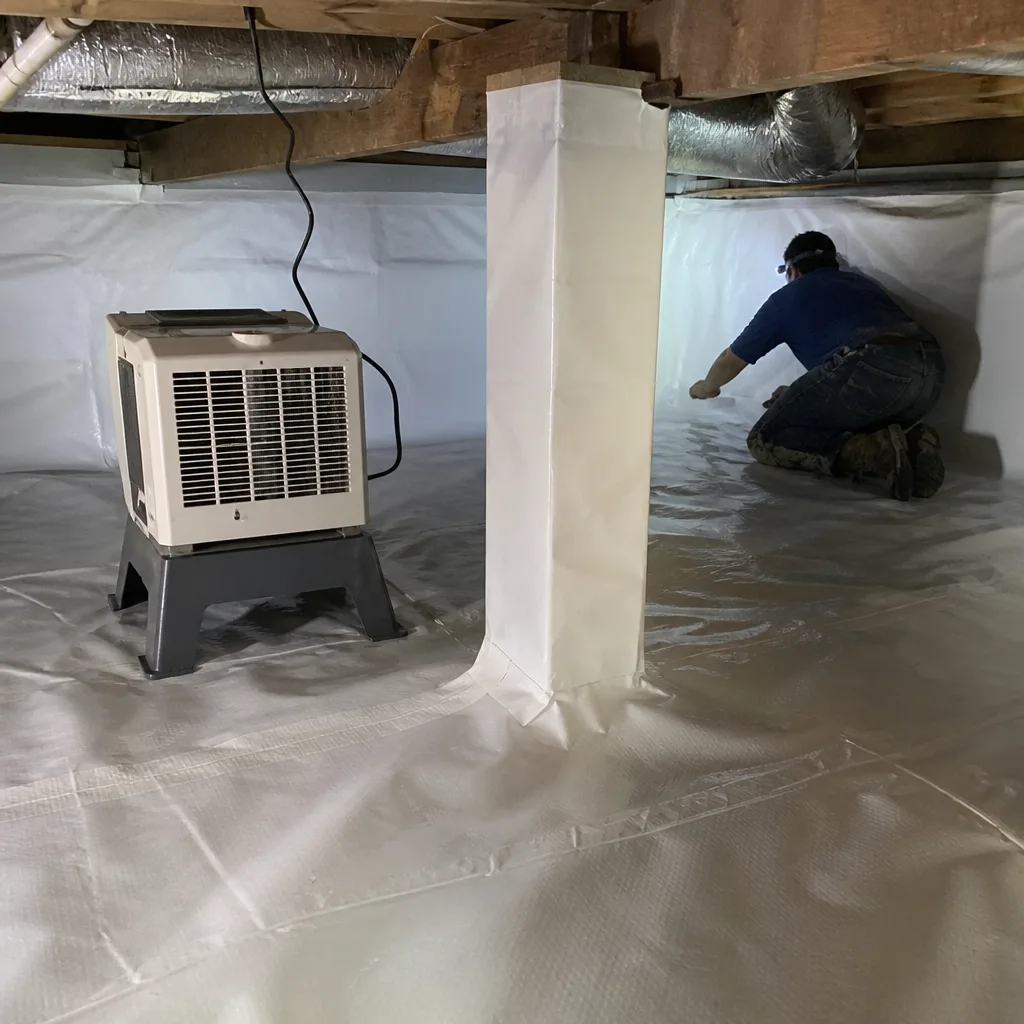
Crawl spaces in Leander are often the most neglected part of the building envelope. They’re also the source of some of the most expensive insulation failures, because moisture problems in crawl spaces propagate to structural members before they’re visible from the living space.
Visual indicators:
- Insulation falling from joist bays: Fiberglass batts installed between floor joists commonly sag or fall when the facing adhesive fails, or when moisture accumulation adds weight. A crawl space with batts on the ground has been failed for months.
- Rim joist staining: The rim joist - the perimeter framing where the floor system meets the foundation - is the coldest surface in the crawl space. Dark staining or mold growth here indicates air leakage and condensation, often because the rim joist was never properly sealed or insulated.
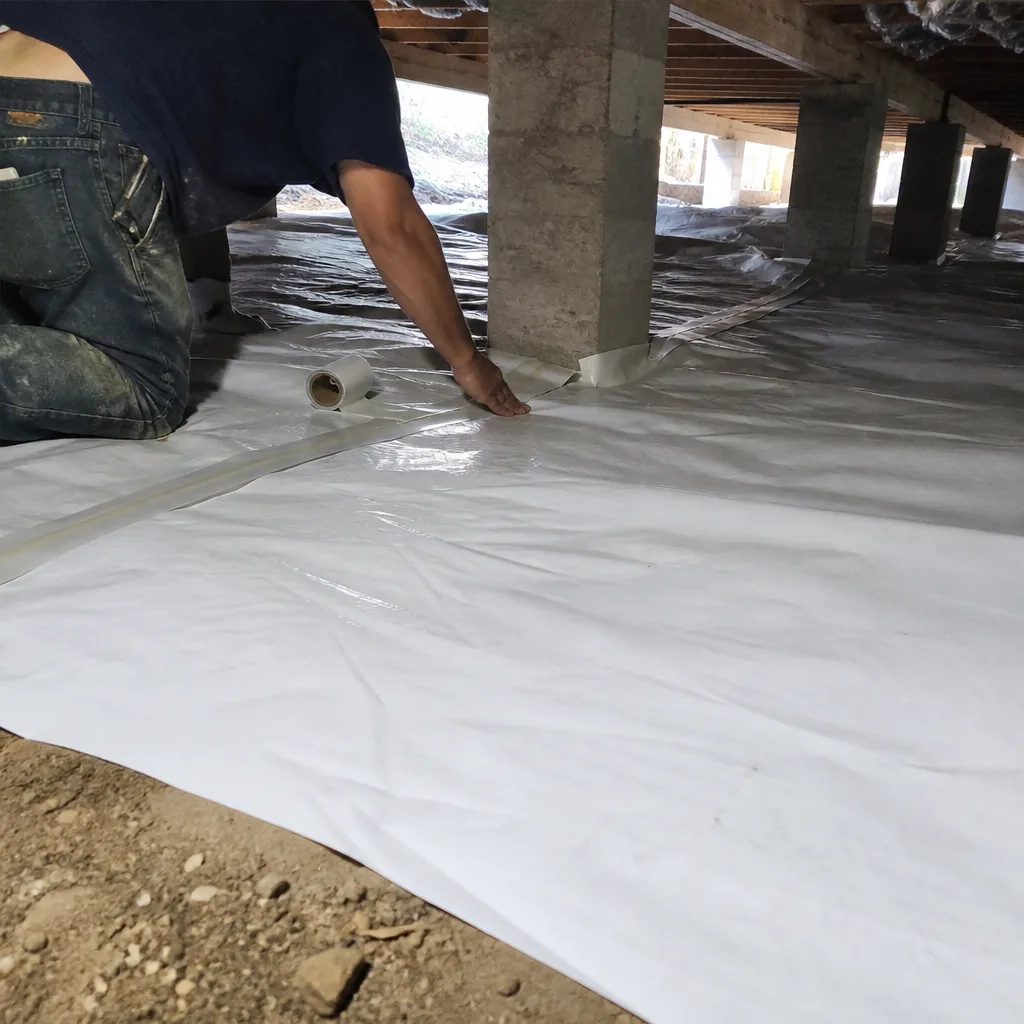
- Vapor barrier condition: A proper crawl space vapor barrier is 6-mil polyethylene, lapped and sealed at seams, extending to the foundation walls. Torn, displaced, or missing vapor barrier allows ground moisture to evaporate into the crawl space, raising humidity and degrading insulation performance.
Odor indicators:
A crawl space should smell like dry soil or nothing at all. Earthy, musty, or sewage-adjacent smells indicate moisture problems, pest activity, or both. The smell often migrates to the living space through floor penetrations - plumbing chases, electrical runs, duct boots - making the source hard to locate without crawl space inspection.
Performance indicators:
Floors that are cold in winter, or rooms over crawl spaces that are hard to condition in summer, indicate that the floor insulation is compromised or that the crawl space is thermally connected to outdoors. In Leander’s climate, an unsealed crawl space with outdoor vents functions as an unconditioned zone - essentially outdoors - making the floor above a thermal liability.
Our crawl space encapsulation service converts this zone to a semi-conditioned space, with sealed vents, full vapor barrier, and rim joist insulation. The performance change is measurable on the next blower-door test.
Common Mistakes to Avoid
- Adding insulation over unsealed air leaks. This is the most common error we correct in Leander. Blown fiberglass over a leaky attic floor performs like a filter, not a barrier - air moves through it, carrying moisture and wasting energy. Sealed first, then insulated.
- Trusting depth measurements alone. A ruler in the attic tells you average depth, not effective coverage. Wind-washed areas can read normal on average while having 3-inch channels that dominate heat flow. We map depth at 16 points minimum.
- Assuming new construction is sealed. Homes built 2015-2020 in Leander’s rapid-growth areas often passed visual inspection without pressure testing. The insulation looked full; the envelope leaked. Always verify with a blower-door test.
- Ignoring the crawl space. Homeowners focus on attics because they’re accessible. But crawl space failures cause floor damage, mold, and pest issues that are more expensive than attic problems. Include the crawl space in any envelope assessment.
- DIY spray foam touch-up. Hardware-store foam cans are low-density, slow-cure products that don’t match professional foam chemistry. Touching up a failed spray foam job with canned foam creates a patchwork of incompatible materials that fails faster than the original.
- Replacing HVAC before testing the envelope. We’ve seen $8,000 equipment replacements that solved nothing because the real problem was 4,200 CFM50 of envelope leakage. Test first, size second.
- Waiting for visible mold. Mold is a late-stage indicator. By the time it’s visible, the insulation has been compromised for months and the framing may be affected. Address moisture smells and temperature changes early.
When to Call a Professional
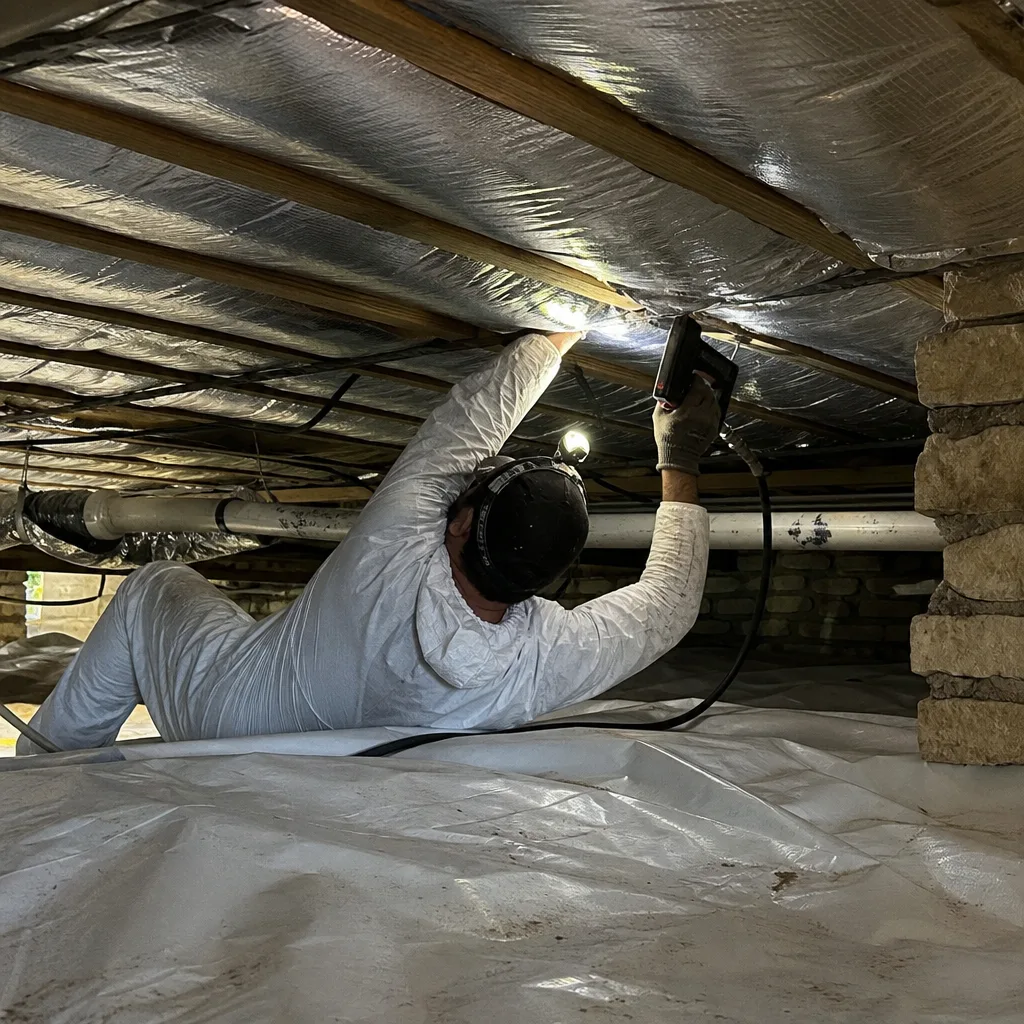
Call for assessment when: your summer kWh usage per cooling degree-day has risen more than 12% over three years; any room holds a temperature more than 3°F from the thermostat setpoint; you smell mustiness after rain that doesn’t resolve within 48 hours; or you can see joists or channels in your attic insulation. These are not emergency conditions, but they are conditions that worsen on a predictable curve.
Topside Attic Insulation Leander offers free estimates in Leander - call (737) 252-7159. Every assessment includes a blower-door test, thermal imaging, and a written scope with flat pricing before any work starts. Under Haven Standard Clause 1: flat price, written scope, written warranty before anyone lifts a tool.
Frequently Asked Questions
Most attic air sealing and insulation restoration jobs in Leander homes of 1,800-2,800 square feet run between $2,800 and $5,400, depending on the extent of removal required, the accessibility of the attic, and whether pest contamination is present. Full encapsulation with spray foam runs higher, typically $4,500-$8,500 for the same footprint. We provide a written price before any work starts - no exceptions. Call (737) 252-7159 for an exact quote; estimates are free.
Some indicators are visible from the living space - ceiling hot spots on thermal imaging, temperature differentials between rooms, rising energy bills - but the specific failure mechanism requires attic inspection. A blower-door test can quantify envelope leakage without attic entry, but visual grading of insulation condition, moisture damage, and pest activity requires direct observation. We document everything with photos so you see what we see.
Spot repair is cheaper when the failure is localized - a single wind-washed area, a localized leak point with limited moisture damage. Full replacement is more cost-effective when: the insulation is more than 15 years old, there’s pest contamination throughout, multiple leak points have distributed moisture, or the original material was installed below current code minimums. We assess both options and price them separately so you can compare.
Properly installed and protected fiberglass or cellulose lasts 20-30 years in Leander’s dry climate, but “properly protected” is the key condition. Insulation in vented attics with unsealed air leaks degrades faster due to moisture cycling, wind-washing, and pest access. Spray foam, when properly mixed and applied to suitable substrates, can last the life of the building - but adhesion failures in our heat, as noted, can appear in 2-3 years if application conditions were poor.
An energy audit evaluates the whole house - HVAC, appliances, lighting, behavior, and envelope - and produces recommendations prioritized by cost-effectiveness. An insulation inspection focuses specifically on the thermal boundary and air barrier, identifying material condition, coverage, and leakage points. We offer both; many Leander homeowners start with the insulation inspection because it’s faster and directly addresses their symptom, then expand to a full audit if equipment replacement is also being considered.
Most diagnostic visits are separate from work days because the written scope and pricing require review. However, for straightforward air sealing of accessible leaks with no material removal, we can sometimes proceed same-day if the homeowner approves the written price on site. Jobs requiring insulation removal, pest remediation, or spray foam application are scheduled with proper preparation and crew allocation. Call (737) 252-7159 to discuss timing for your specific situation.
The Bottom Line
The warning signs that get your attention - the bill, the hot room, the smell - are downstream effects of problems that started a year or more ago. Working backward from symptom to source saves money because it lets you fix the actual failure instead of treating the symptom. In Leander’s climate, that means testing the envelope with a blower-door reading, grading the insulation visually for displacement patterns, and distinguishing material failure from air-sealing failure before specifying any work. Every job we’ve completed since 2016 has started with a written price and ended with a documented record; on applicable jobs, the before-and-after blower-door numbers show exactly what changed. If your bills are creeping up or your rooms won’t hold temperature, the problem is already more advanced than it looks. The right time to assess is before the symptoms get worse.
Written by Wes Okafor, Owner at Topside Attic Insulation Leander, serving Leander since 2016.